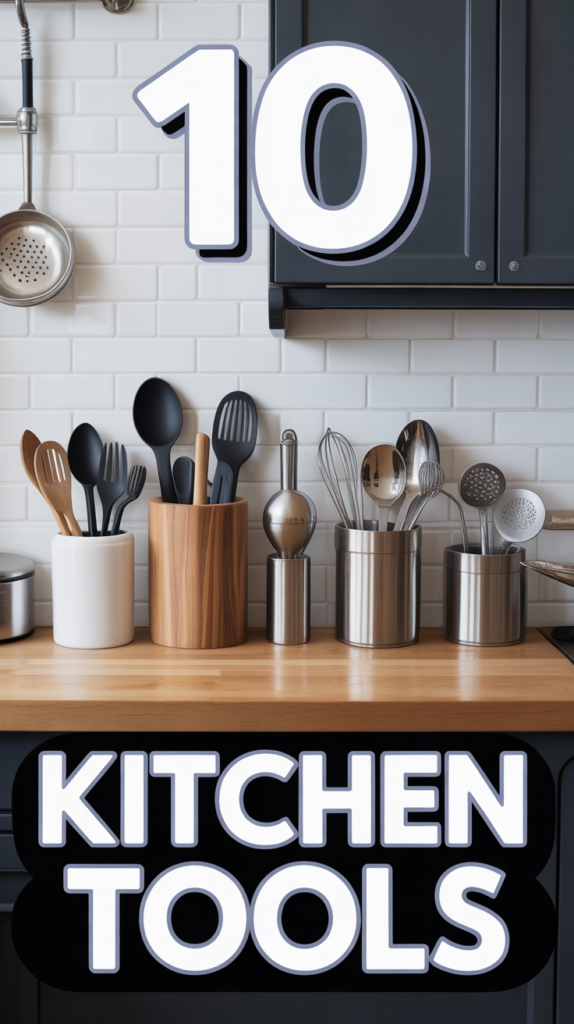
10 Kitchen Tools Every Beginner Cook Actually Needs (and How to Use Them Deliciously)
You don’t need a drawer full of gadgets to cook like you’ve got your life together. You just need the right 10 kitchen tools—and a few foolproof recipes to put them to work. This guide gives you both: the essential gear every beginner cook actually needs, plus ten easy, crave-worthy recipes that show exactly why each tool earns its spot in your kitchen.
We’re keeping it simple, flavorful, and confidence-boosting. You’ll chop smarter, sear better, and bake without fear. Ready to cook food you’ll brag about? Let’s go.
10 Kitchen Tools Every Beginner Cook Actually Needs
1. The Chef’s Knife: Lemon-Herb Roast Chicken You Can Carve Like a Pro
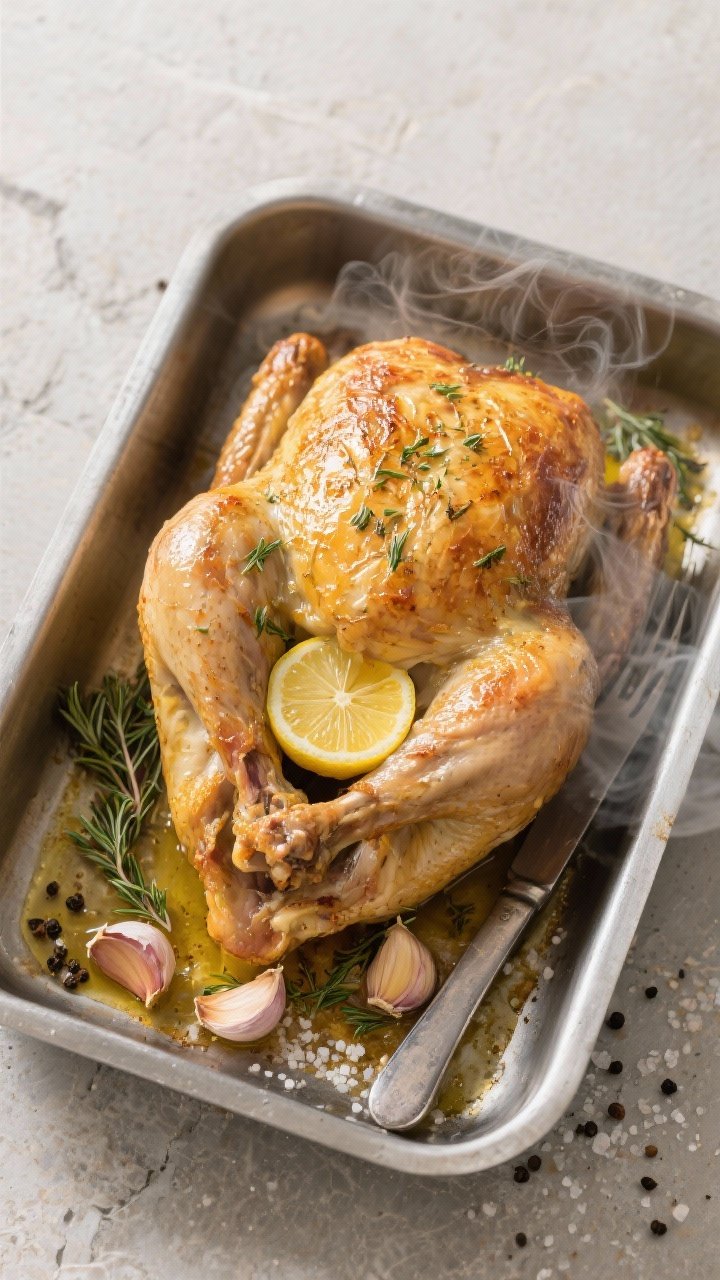
A sharp chef’s knife is your MVP. It tackles everything: chopping herbs, slicing onions, and carving a golden roast chicken. This recipe uses your knife to prep quickly and carve cleanly—hello, juicy slices and crispy skin.
Ingredients:
- 1 whole chicken (3.5–4 lbs)
- 2 tbsp olive oil
- 1 tsp kosher salt
- 1/2 tsp black pepper
- 1 lemon, halved
- 4 garlic cloves, smashed
- 2 tsp fresh thyme, chopped (or 1 tsp dried)
- 2 tsp fresh rosemary, chopped (or 1 tsp dried)
- 1 onion, quartered
- 1 cup low-sodium chicken broth (optional, for the pan)
Instructions:
- Preheat oven to 425°F (220°C). Pat the chicken dry with paper towels—this helps the skin crisp.
- Use your chef’s knife to finely chop the herbs and to quarter the onion. In a small bowl, mix olive oil, salt, pepper, thyme, and rosemary.
- Rub the herb oil all over the chicken, including under the skin if you can. Stuff the cavity with lemon halves, garlic, and a few onion quarters.
- Place remaining onion in a roasting pan. Set the chicken on top. Pour broth into the pan if you want pan juices.
- Roast 55–70 minutes, until the thickest part of the thigh hits 165°F (74°C). Let rest 10 minutes.
- Carve with your chef’s knife: remove the legs, separate drumsticks and thighs, then slice the breasts against the grain.
Serve with the roasted onions and pan juices. Add a quick side salad. Pro tip: sharpen your knife weekly—your chopping will feel safer and smoother, and your slices will look chef-level.
📥 Save Time This Week!
Get our FREE 7-Day Dinner Plan + Grocery List — all the recipes, shopping lists, and meal prep tips you need to breeze through the week.
Instant download. No spam, just delicious dinners. Unsubscribe anytime.
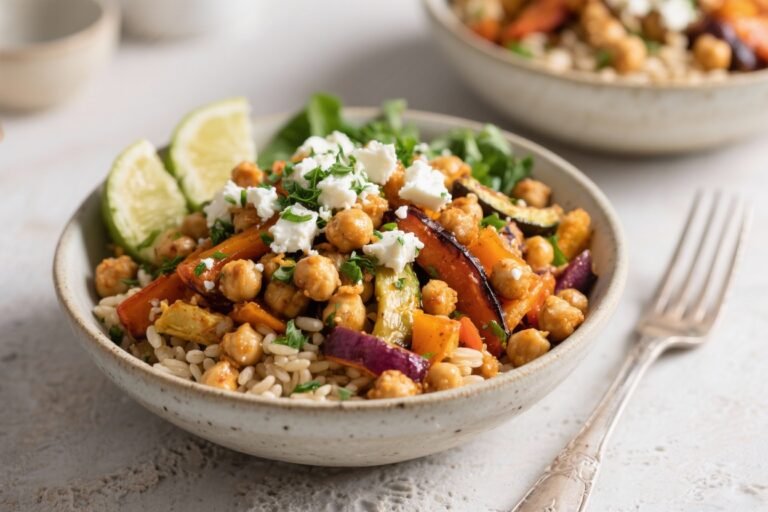
2. The Cutting Board: Rainbow Chopped Salad With Creamy Tahini Dressing
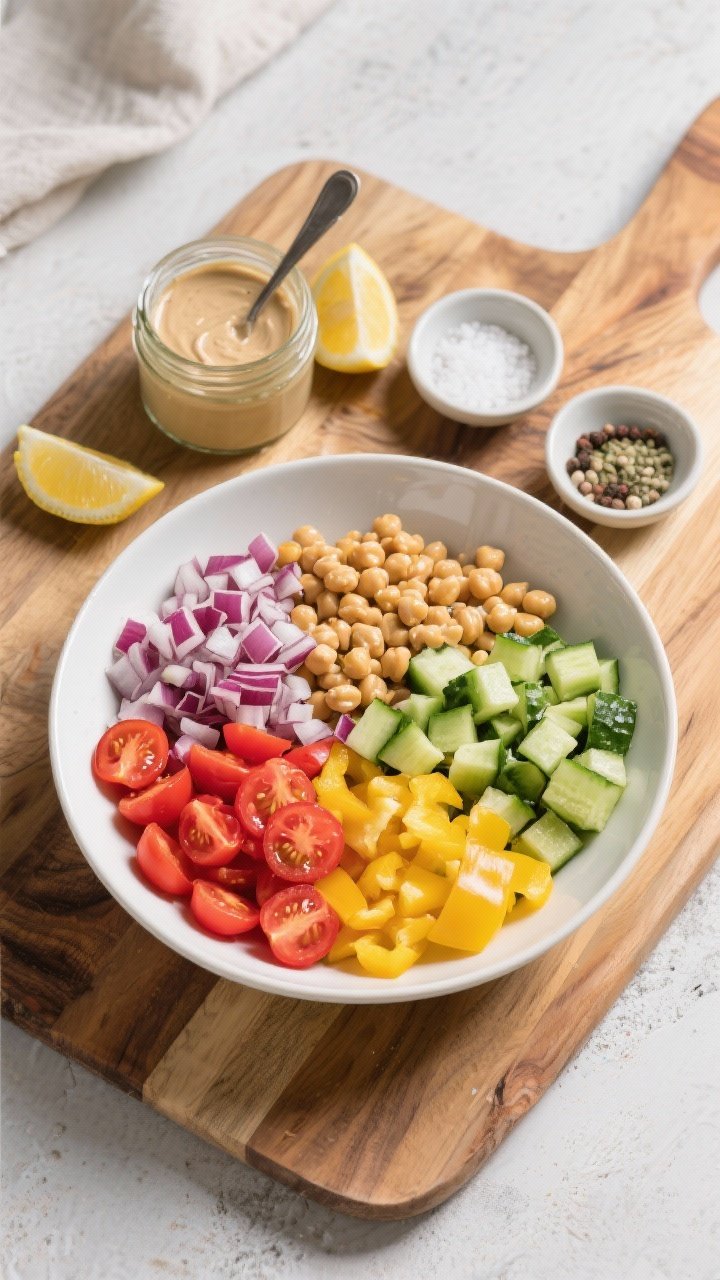
A sturdy cutting board gives you space and stability, which equals faster, safer prep. This crunchy, colorful salad celebrates knife work—chop everything small so every bite pops with flavor.
Ingredients:
- 1 large cucumber, diced
- 1 red bell pepper, diced
- 1 yellow bell pepper, diced
- 2 cups cherry tomatoes, halved
- 1 small red onion, finely diced
- 1 cup cooked chickpeas, drained and rinsed
- 1/2 cup feta, crumbled (optional)
- 1/4 cup fresh parsley, chopped
- 1/4 cup fresh mint, chopped
Dressing:
- 3 tbsp tahini
- 2 tbsp lemon juice
- 1 tbsp olive oil
- 1 tsp honey or maple syrup
- 1 small garlic clove, grated
- 2–3 tbsp cold water (to thin)
- 1/2 tsp kosher salt, to taste
Instructions:
- On your cutting board, chop all veggies into even, bite-size pieces. The more uniform, the better the texture.
- Whisk dressing ingredients in a bowl, thinning with water until creamy and pourable.
- Toss veggies, chickpeas, herbs, and feta with dressing. Taste and adjust salt or lemon.
Serve immediately or chill for 30 minutes to meld flavors. Pro tip: get a large board with a juice groove to catch mess, and use a non-slip mat or damp towel under it for stability.
3. The Cast-Iron Skillet: Crispy-Edge Skillet Pizza

A cast-iron skillet delivers heat like a champ—perfect for crispy pizza with a soft, chewy center. You’ll skip delivery after one bite of this golden, bubbly beauty.
Ingredients:
- 1 lb pizza dough (store-bought is fine)
- 2 tbsp olive oil, divided
- 1/2 cup pizza sauce
- 1 1/2 cups shredded low-moisture mozzarella
- 8–10 slices pepperoni (or your favorite toppings)
- 1/4 tsp red pepper flakes (optional)
- Fresh basil leaves, for garnish
Instructions:
- Preheat oven to 500°F (260°C). Place the cast-iron skillet inside to preheat for 10 minutes.
- On a lightly oiled surface, stretch dough to a round slightly larger than your skillet.
- Carefully remove the hot skillet. Add 1 tbsp oil and swirl. Lay in the dough, pressing edges to the sides for that pan-pizza vibe.
- Spread sauce, add cheese, and top with pepperoni. Drizzle remaining oil around the edge where dough meets pan for a golden crust.
- Bake 10–14 minutes until cheese is browned and crust is deeply golden. Finish under the broiler 1–2 minutes if you want extra char.
Let rest 2 minutes, then loosen with a spatula and slide onto a board. Sprinkle basil and red pepper flakes. Tip: re-season your skillet with a thin coat of oil after washing—it’ll stay nonstick and last forever, seriously.
4. The Nonstick Sauté Pan: 5-Minute Creamy Scrambled Eggs
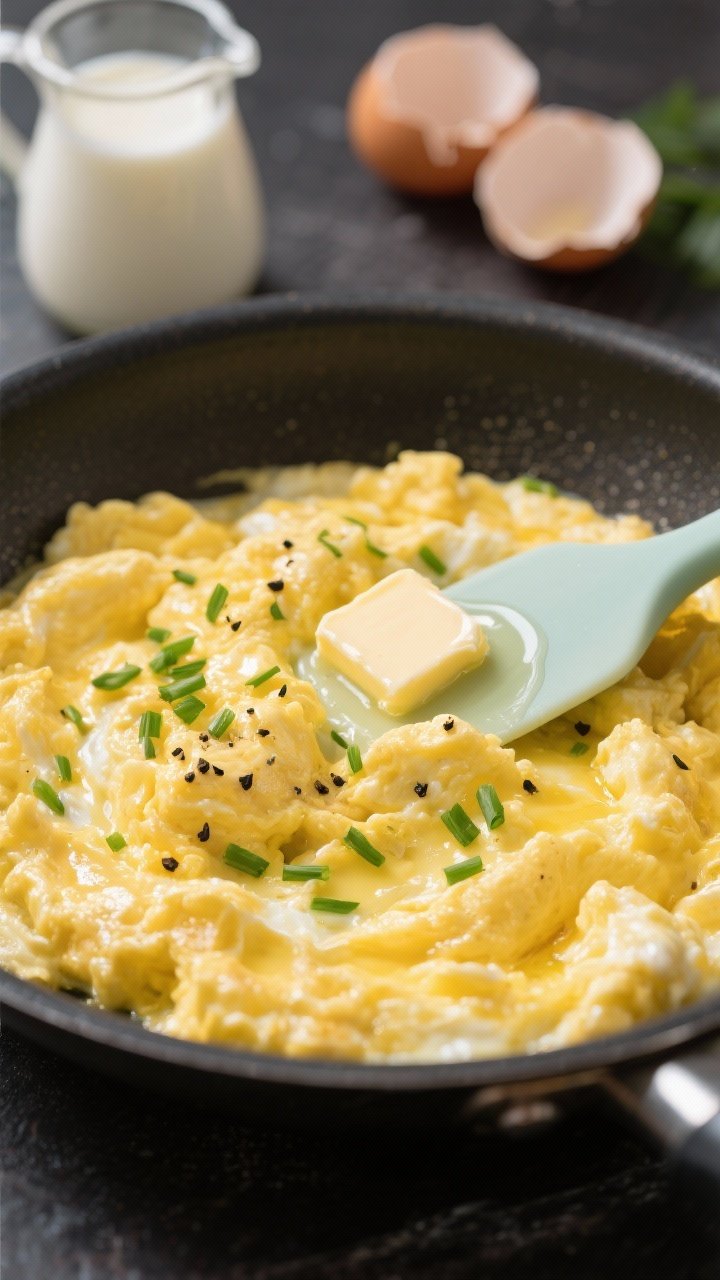
A good nonstick pan helps you nail delicate, quick-cooking foods like eggs without sticking or stress. These velvety scrambled eggs are breakfast gold—great for busy mornings or lazy weekends.
Ingredients:
- 4 large eggs
- 2 tbsp milk or cream
- 1 tbsp unsalted butter
- 1/4 tsp kosher salt
- Black pepper, to taste
- Chives, snipped (optional)
Instructions:
- Whisk eggs with milk, salt, and pepper until fully combined and slightly frothy.
- Heat butter in a nonstick pan over medium-low until melted and foamy.
- Pour in eggs. With a silicone spatula, gently push eggs from edges to center, forming soft curds. Keep heat low.
- When eggs are mostly set but still glossy, remove from heat. Residual heat finishes them perfectly.
Top with chives. Slide onto buttered toast or fold into a warm tortilla. Pro tip: only use silicone or wooden tools in your nonstick pan and keep heat below high to extend the coating’s life.
5. The Instant-Read Thermometer: Pan-Seared Steak With Garlic Butter
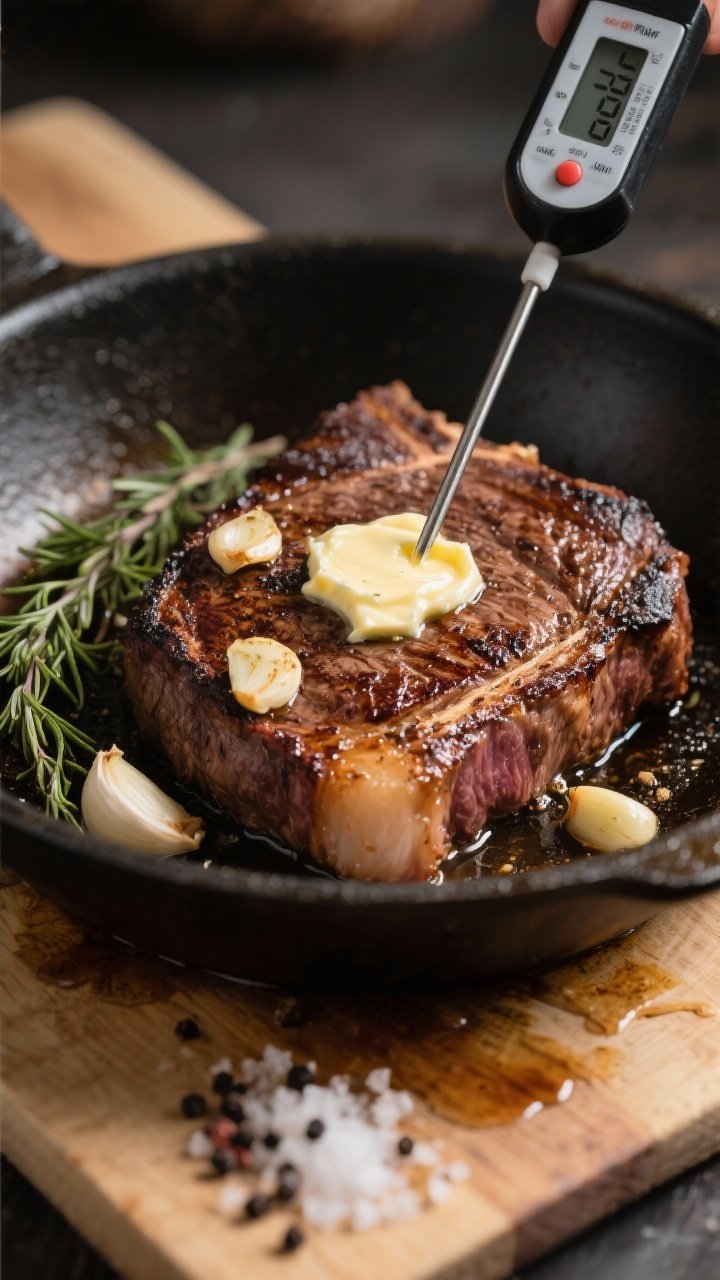
A thermometer takes the guesswork out of cooking meat. You’ll hit your perfect doneness every time, no stress. This pan-seared steak gets a buttery, garlicky finish that feels restaurant-fancy at home.
Ingredients:
- 1 ribeye or New York strip steak (1–1.25 inches thick)
- 1 tsp kosher salt
- 1/2 tsp black pepper
- 1 tbsp neutral oil (canola, avocado)
- 2 tbsp unsalted butter
- 2 garlic cloves, smashed
- 2 sprigs fresh thyme or rosemary
Instructions:
- Pat steak dry. Season generously with salt and pepper. Let sit at room temp 20–30 minutes.
- Heat a heavy skillet over medium-high until very hot. Add oil, then steak.
- Sear 2–3 minutes per side for medium-rare, flipping once. Add butter, garlic, and herbs; baste by spooning melted butter over the steak.
- Check internal temp with an instant-read thermometer: 125°F (52°C) for rare, 130–135°F (54–57°C) for medium-rare, 140°F (60°C) for medium.
- Rest 5–7 minutes before slicing.
Serve with a simple arugula salad or roasted potatoes. Tip: temp your steak from the side into the center for the most accurate reading. You’ll never overcook again—trust me.
6. The Sheet Pan: Maple-Soy Roasted Salmon and Veggies
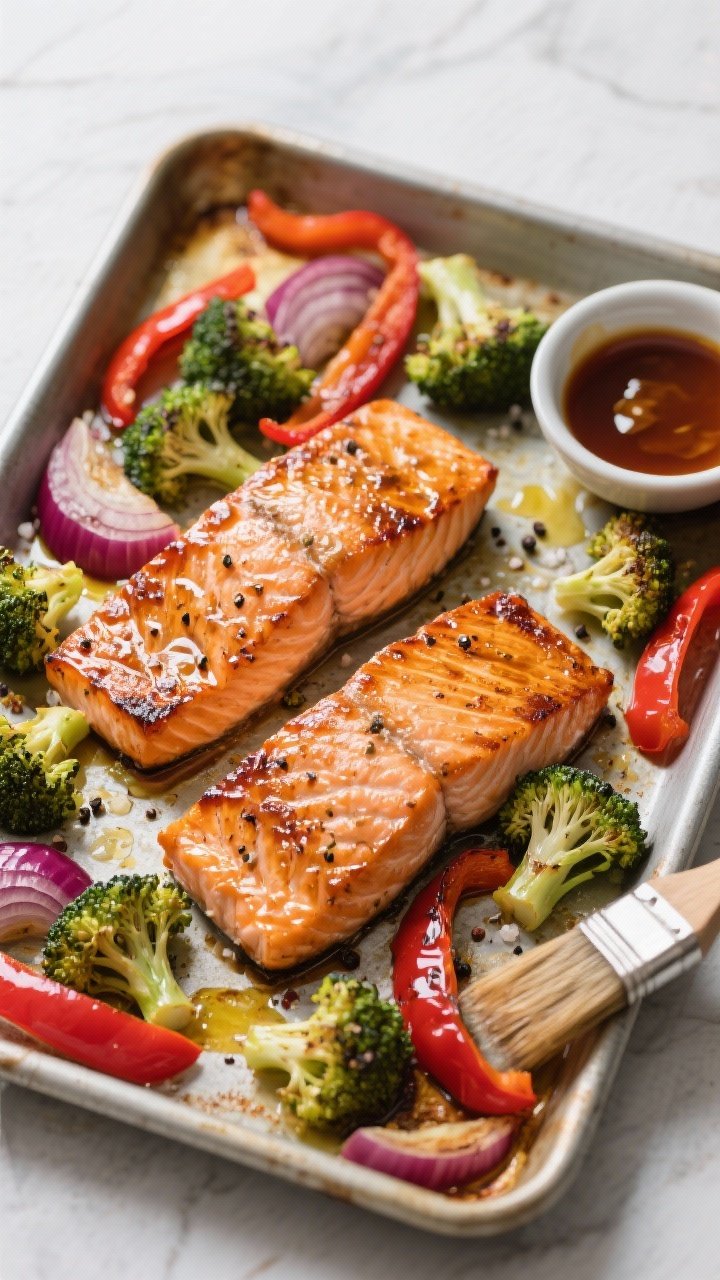
A sturdy sheet pan makes dinner in one go—less cleanup, more flavor. This sweet-savory salmon roasts alongside tender veggies for a balanced, weeknight-friendly meal.
Ingredients:
- 2 salmon fillets (6 oz each)
- 2 cups broccoli florets
- 1 red onion, sliced into wedges
- 1 red bell pepper, sliced
- 2 tbsp olive oil
- 1/2 tsp kosher salt, divided
- Black pepper, to taste
- 1 1/2 tbsp maple syrup
- 1 1/2 tbsp soy sauce
- 1 tsp rice vinegar or lemon juice
- 1 tsp grated fresh ginger (optional)
- Sesame seeds and scallions, for garnish
Instructions:
- Preheat oven to 425°F (220°C). Line a sheet pan with parchment for easy cleanup.
- Toss broccoli, onion, and pepper with olive oil, half the salt, and pepper. Spread in a single layer and roast 10 minutes.
- Whisk maple syrup, soy sauce, vinegar, and ginger. Move veggies to the sides and place salmon in the center. Brush salmon with glaze; drizzle any extra over veggies.
- Roast 8–12 minutes, depending on thickness, until salmon flakes easily or reaches 125–130°F (52–54°C) internally.
Top with sesame seeds and scallions. Serve with rice or quinoa. Pro tip: choose a heavy, rimmed sheet pan to prevent warping and get better browning on everything.
7. The Measuring Cups and Spoons: One-Bowl Banana Bread
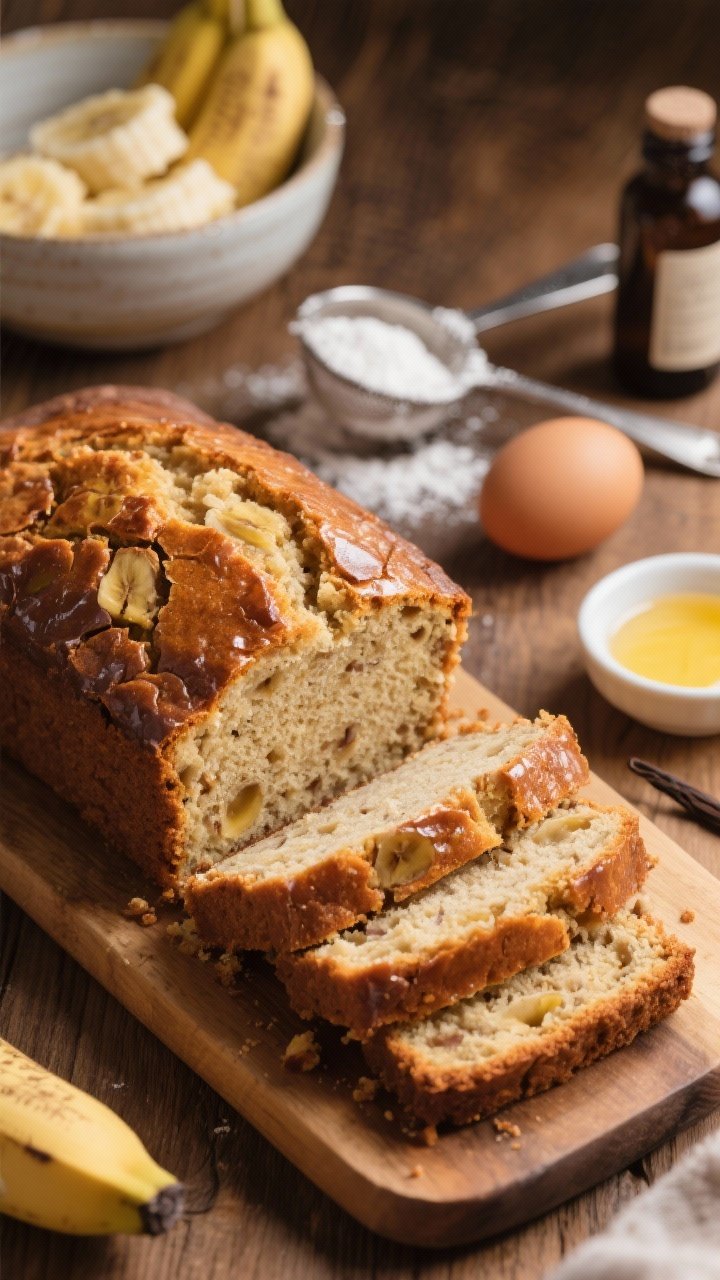
Reliable measuring cups and spoons mean consistent results. Baking is chemistry—measure right and your banana bread will be moist, tender, and perfectly sweet every time.
Ingredients:
- 3 very ripe bananas, mashed (about 1 1/4 cups)
- 1/2 cup granulated sugar
- 1/4 cup brown sugar, packed
- 1/3 cup melted butter (or neutral oil)
- 1 large egg
- 1 tsp vanilla extract
- 1 1/2 cups all-purpose flour
- 1 tsp baking soda
- 1/2 tsp kosher salt
- 1/2 tsp ground cinnamon (optional)
- 1/2 cup chopped walnuts or chocolate chips (optional)
Instructions:
- Preheat oven to 350°F (175°C). Grease a 9×5-inch loaf pan or line with parchment.
- In a bowl, whisk mashed bananas, sugars, melted butter, egg, and vanilla.
- Sprinkle in flour, baking soda, salt, and cinnamon. Stir just until combined—don’t overmix. Fold in nuts or chocolate if using.
- Pour into pan and bake 50–60 minutes, until a toothpick comes out mostly clean.
Cool 15 minutes before slicing. Toast a slice with butter, or slather with peanut butter. Tip: level dry ingredients with a straight edge; it’s the small measuring habits that make baking foolproof.
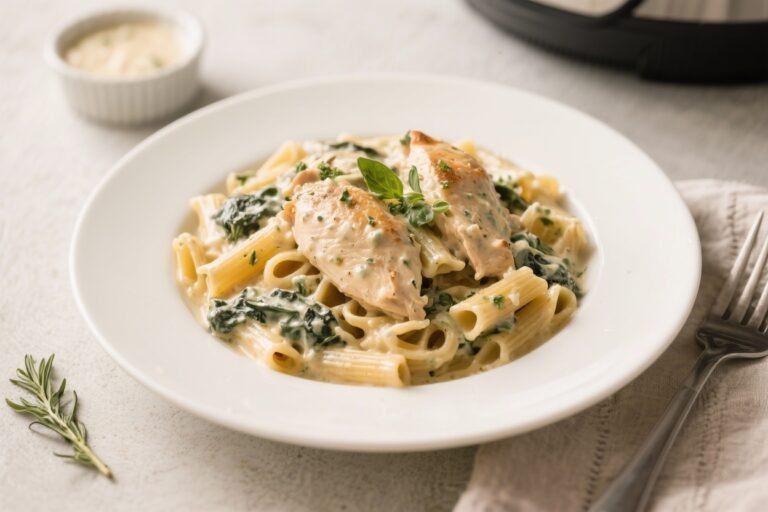
8. The Wooden Spoon and Silicone Spatula: 20-Minute Tomato Basil Pasta
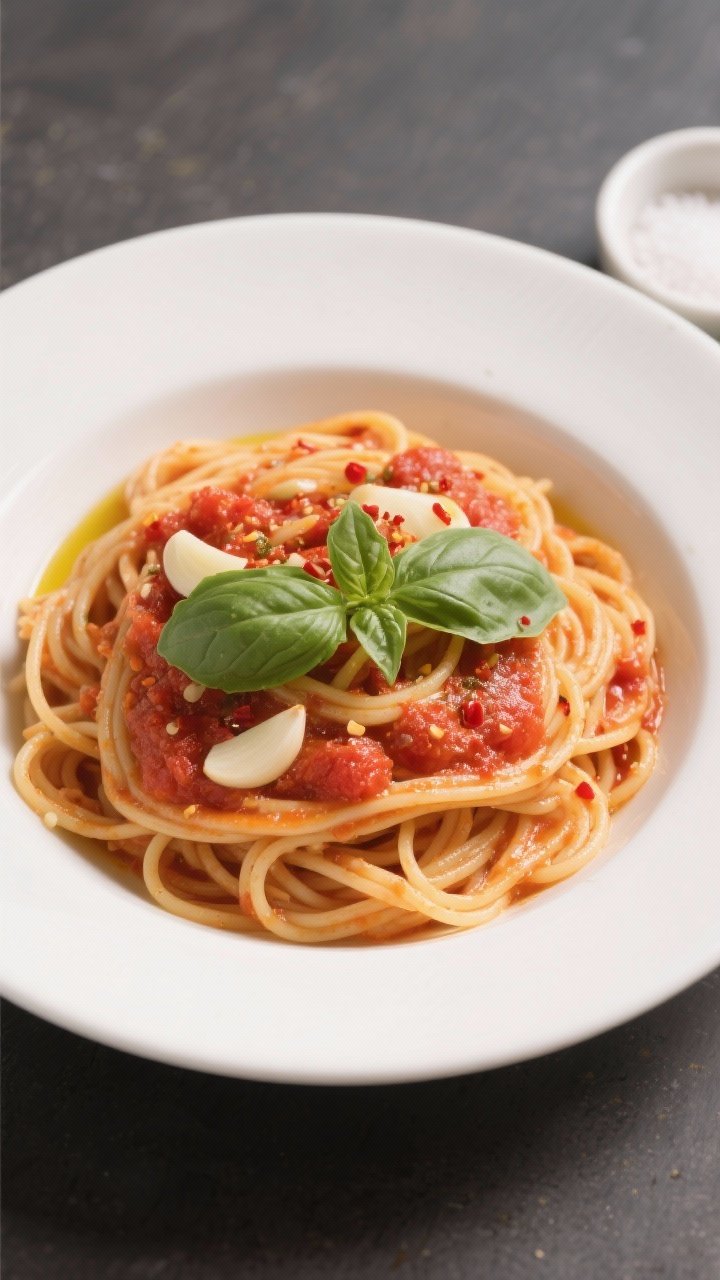
Between a wooden spoon for stirring and a silicone spatula for scraping every last drop of sauce, you’ll cook cleaner and waste less. This weeknight pasta is bright, fresh, and way more satisfying than jarred sauce.
Ingredients:
- 12 oz spaghetti or linguine
- 2 tbsp olive oil
- 3 garlic cloves, thinly sliced
- 1/4 tsp red pepper flakes (optional)
- 1 (28-oz) can crushed tomatoes
- 1 tsp sugar (optional, to balance acidity)
- 1/2 tsp kosher salt, plus more for pasta water
- 1/4 tsp black pepper
- 1/2 cup fresh basil, torn
- 2 tbsp butter or 1/4 cup grated Parmesan (optional for richness)
Instructions:
- Bring a large pot of salted water to a boil. Cook pasta to al dente per package directions.
- Meanwhile, heat olive oil in a sauté pan over medium. Add garlic and red pepper flakes; stir with a wooden spoon until fragrant, 30 seconds.
- Add crushed tomatoes, sugar (if using), salt, and pepper. Simmer 8–10 minutes, stirring occasionally.
- Reserve 1/2 cup pasta water. Drain pasta and add to sauce. Toss, adding butter or Parmesan and splashes of pasta water until glossy and saucy.
- Fold in basil with a silicone spatula so it wilts gently.
Serve with extra basil and cheese. Tip: silicone spatulas are heat-resistant and perfect for scraping every bit of sauce, which means more flavor in your bowl.
9. The Colander: Garlic-Lemon Butter Shrimp With Broccoli
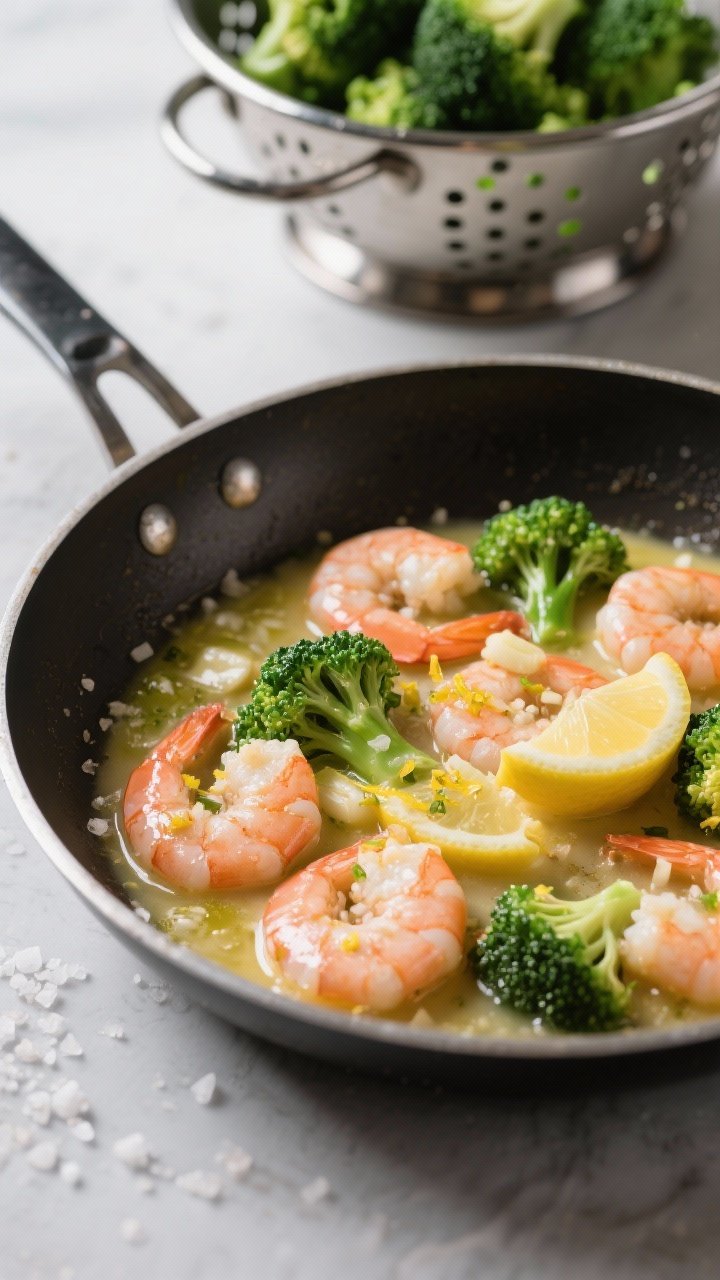
A sturdy colander isn’t just for pasta—it makes rinsing veggies and quick draining effortless. This shrimp-and-broccoli number is bright, buttery, and on the table in 15 minutes.
Ingredients:
- 1 lb large shrimp, peeled and deveined
- 3 cups broccoli florets
- 2 tbsp olive oil
- 3 tbsp unsalted butter
- 3 garlic cloves, minced
- Zest of 1 lemon
- 2 tbsp lemon juice
- 1/2 tsp kosher salt
- Black pepper, to taste
- Cooked rice, couscous, or crusty bread, for serving
Instructions:
- Place broccoli in the colander. Pour a kettle of boiling water over it to quickly blanch; drain well.
- Heat olive oil in a large skillet over medium-high. Pat shrimp dry; season with salt and pepper. Sear 1–2 minutes per side until just pink; remove.
- Lower heat to medium. Add butter and garlic; cook 30 seconds. Stir in lemon zest and juice.
- Return shrimp and add broccoli. Toss to coat and heat through, 1–2 minutes.
Serve over rice or with bread to soak up the sauce. Tip: a colander with sturdy feet and comfortable handles makes draining safer and keeps foods from sitting in water.
10. The Dutch Oven: No-Knead Artisan Bread That Makes Your Kitchen Smell Like a Bakery
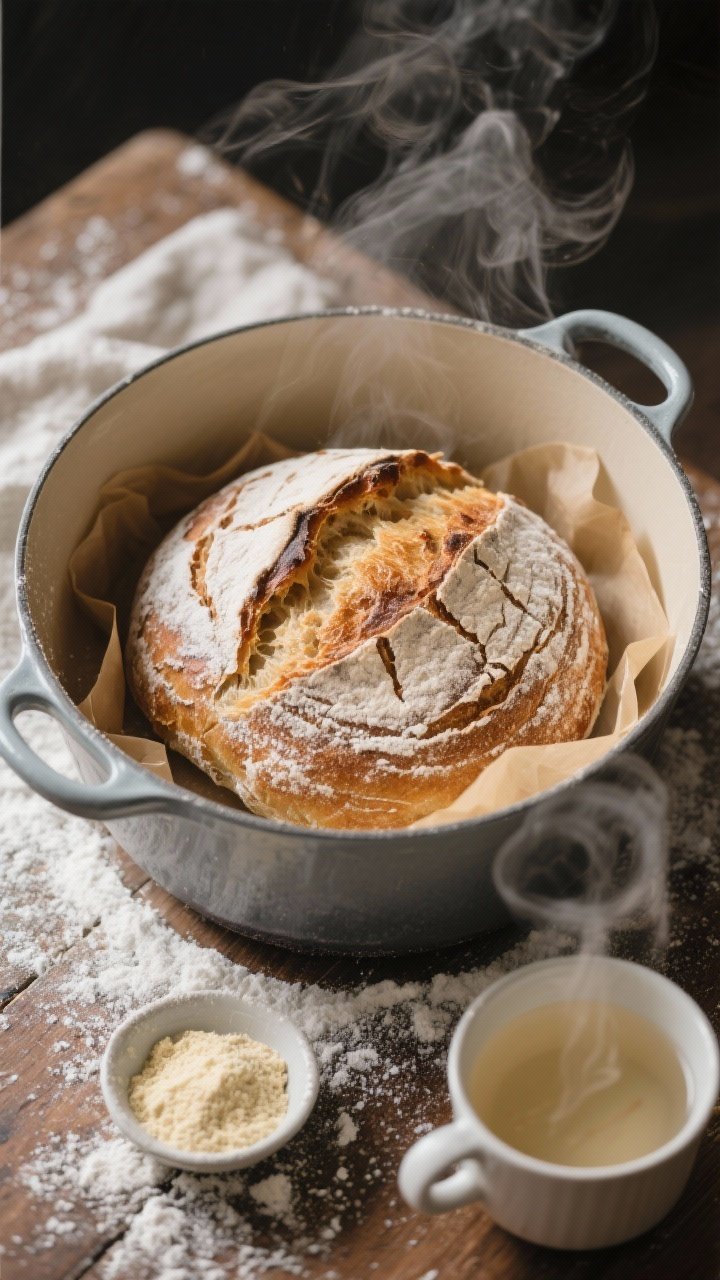
A Dutch oven traps steam like a pro, giving you shatteringly crisp crust and tender crumb—without any special skills. This no-knead bread is beginner magic and crowd-pleasing every time.
Ingredients:
- 3 cups all-purpose flour (or bread flour)
- 1 1/4 tsp kosher salt
- 1/2 tsp instant yeast
- 1 1/2 cups warm water (about 105–110°F)
- Extra flour or cornmeal for dusting
Instructions:
- In a large bowl, whisk flour, salt, and yeast. Stir in warm water until a shaggy dough forms. Cover with plastic wrap or a towel and let rise at room temp 8–12 hours.
- Turn dough onto a floured surface. With floured hands, shape into a ball by folding edges toward the center. Rest 30 minutes on parchment.
- Place Dutch oven with lid in your oven and preheat to 450°F (230°C) for 30 minutes.
- Carefully lift dough using the parchment and lower into the hot Dutch oven. Cover and bake 30 minutes.
- Remove lid and bake 10–15 minutes more, until the crust is deep golden-brown.
Cool at least 30 minutes before slicing (hardest part, I know). Serve with salted butter, soup, or for epic sandwiches. Tip: a 5–6 quart Dutch oven is the sweet spot—big enough for bread and stews, small enough to handle easily.
Essential Tools Recap (And Why They Matter)
These recipes highlight the 10 kitchen tools every beginner cook actually needs:
- Chef’s Knife
- Cutting Board
- Cast-Iron Skillet
- Nonstick Sauté Pan
- Instant-Read Thermometer
- Sheet Pan
- Measuring Cups and Spoons
- Wooden Spoon and Silicone Spatula
- Colander
- Dutch Oven
Own these, and you can cook almost anything with confidence. Add a can opener and a peeler if you want to expand, but this core kit will take you far.
Stocking and Storage Tips
- Buy tools once, cry never: choose quality basics that feel solid in your hand.
- Keep knives sharp and stored safely—magnetic strip or knife guard beats a loose drawer.
- Line sheet pans with parchment to extend their life and for faster cleanup.
- Season cast iron regularly; avoid soaking. A little care goes a long way.
Ready to cook like you mean it? Start with one recipe and one tool at a time. You’ll build skills fast, eat better, and actually enjoy being in the kitchen—because good tools and great food make the best team. Now go make something delicious.
Printable Recipe Card
Want just the essential recipe details without scrolling through the article? Get our printable recipe card with just the ingredients and instructions.