10 Simple Kitchen Organization Products That Make Cooking Less Annoying
You know what’s worse than overcooking pasta? Digging for a spatula while your sauce is smoking. If your kitchen feels like a scavenger hunt every time you cook, these ten simple organization products are about to change your life. We’re talking fewer “where’s the whisk?!” moments and more actual cooking joy. Ready to make dinner less annoying and a lot more delicious?
Looking for fast and easy weeknight ideas? See our 10 Quick and Easy Dinners.

10 Simple Kitchen Organization Products That Make Cooking Easier
1. Magnetic Knife Strip That Makes Your Counter Instantly Zen

This is the kitchen upgrade that looks sleek and saves space. A magnetic knife strip gets your blades off the counter, frees your drawers, and keeps everything safely within reach. It’s cleaner, faster, and way less chaotic than rooting around for that chef’s knife mid-chop.
Ingredients:
- 1 sturdy magnetic knife strip (16–18 inches is ideal)
- Included screws and anchors (or heavy-duty adhesive if renting)
- Pencil and level
- Drill or screwdriver
- Your knife collection (chef’s knife, paring knife, serrated, etc.)
Instructions:
- Choose a spot away from heat and moisture, ideally above your prep area. Use a level to mark straight mounting points.
- Drill pilot holes and secure the strip with anchors and screws. If adhesive, follow the cure time carefully.
- Clean your knives and place them with blades up, handles down for easy grab-and-go.
- Arrange by frequency: most-used knives in the center; specialty blades to the side.
Pro tip: Add a second strip for metal tongs, mini strainers, and shears. It turns your backsplash into a tidy tool wall and reduces the “drawer of doom” effect instantly.
2. Adjustable Drawer Dividers That End Utensil Chaos
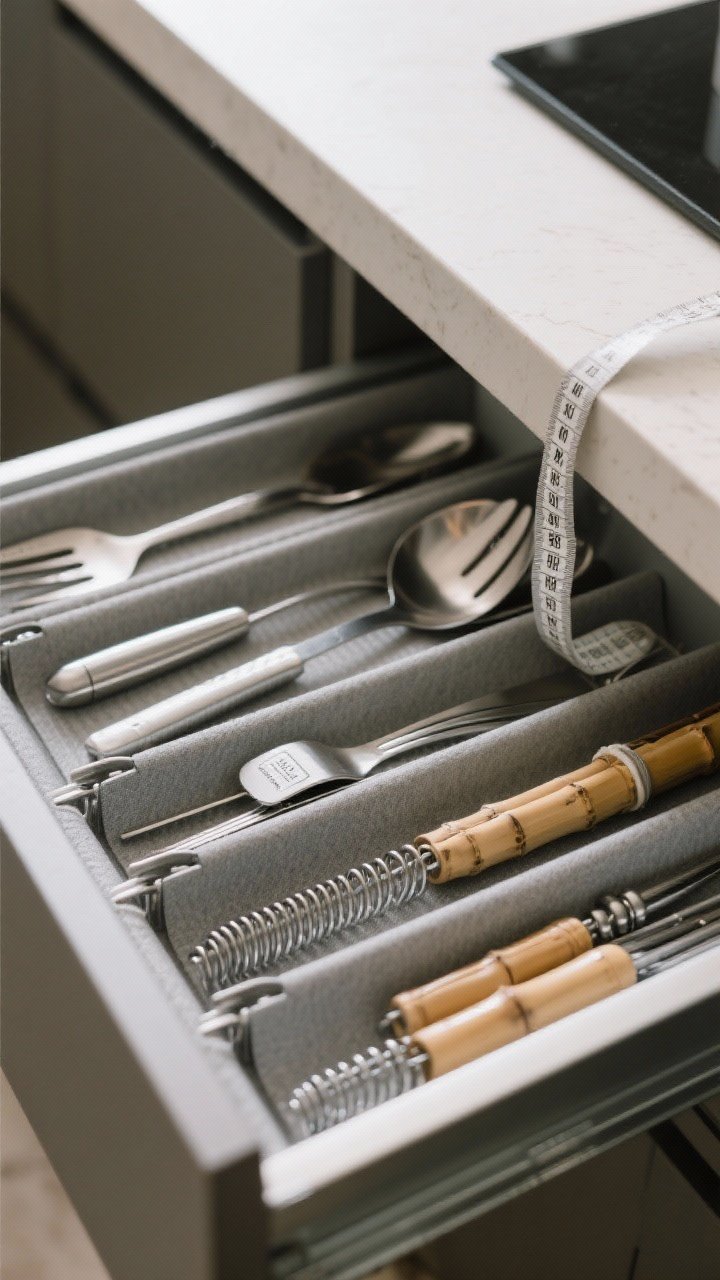
Those catch-all drawers? We’re breaking them up—in the best way. Adjustable dividers corral spatulas, whisks, peelers, and bag clips so you can finally find things without a treasure map. Suddenly your drawers feel custom-built.
Ingredients:
- 2–6 spring-loaded or expandable drawer dividers
- Non-slip drawer liners
- Measuring tape
- Labels (optional)
- Utensils and small tools to sort
Instructions:
- Empty the drawer and measure length, width, and depth. Cut liner to fit.
- Sort tools by type: cooking spoons, baking tools, bar tools, small gadgets.
- Place dividers to create sections sized to each category. Leave one small “flex zone.”
- Load tools back in, handles facing the same direction for quick grabs.
- Optional: Label the lip of the drawer so guests know where things go.
Variation: Use shallow trays inside the divided zones for tiny items like corn cob holders, wine stoppers, and pastry tips. Everything gets a home—and stays there.
📥 Save Time This Week!
Get our FREE 7-Day Dinner Plan + Grocery List — all the recipes, shopping lists, and meal prep tips you need to breeze through the week.
Instant download. No spam, just delicious dinners. Unsubscribe anytime.
3. Over-the-Door Pantry Organizer That Doubles Your Space
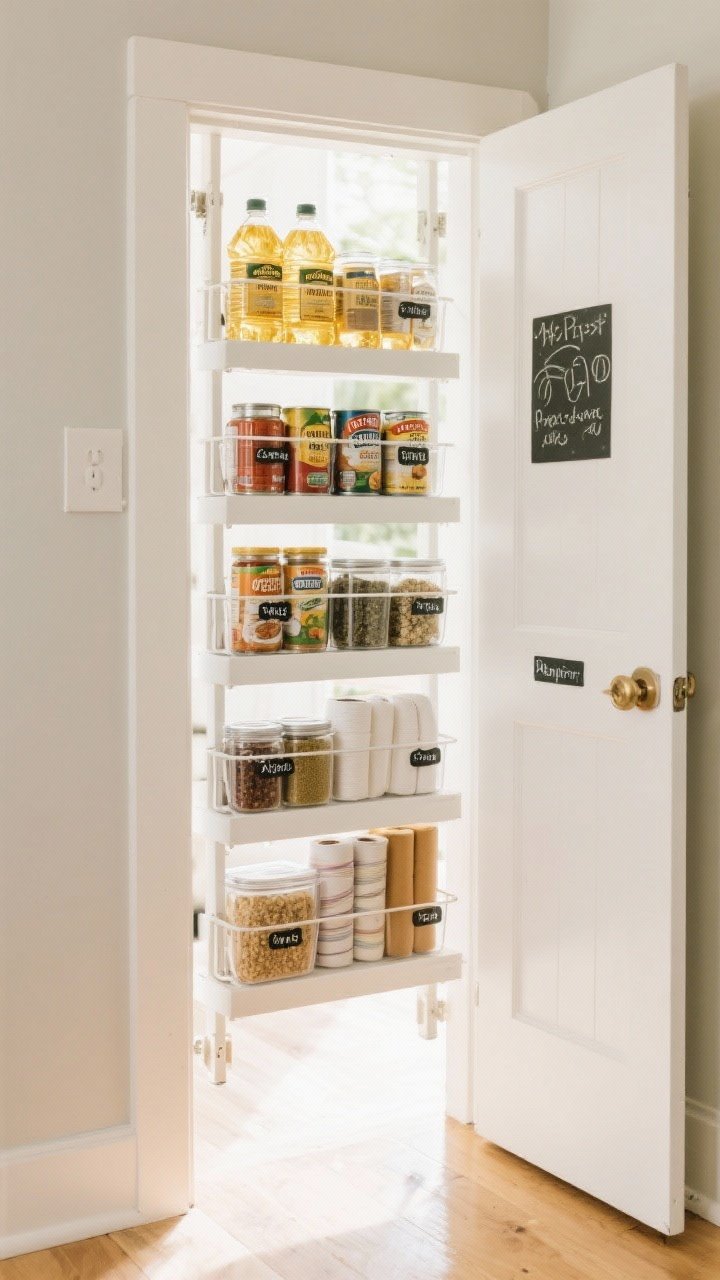
No pantry? No problem. An over-the-door organizer turns a boring door into prime real estate for snacks, spices, foil, and baking supplies. It’s the ultimate small-kitchen hack for people with too many condiments (ahem, all of us).
Ingredients:
- 1 over-the-door rack with adjustable shelves
- Clear bins or jars (optional)
- Chalk or sticker labels
- Pantry items: oils, canned goods, spices, wraps
Instructions:
- Assemble and hang the organizer; adjust shelves to fit tall bottles and short jars.
- Group items by use: baking zone, sauces and oils, snack shelf, wraps and foils.
- Decant bulky items into clear containers for easy scanning.
- Label each shelf so the system survives your next grocery haul.
Serving suggestion: Add a rotating mini lazy Susan on one shelf for hot sauces or vinegars. You’ll never lose the sriracha again—praise be.
4. Lazy Susan Turntables That Make Corners Work Hard
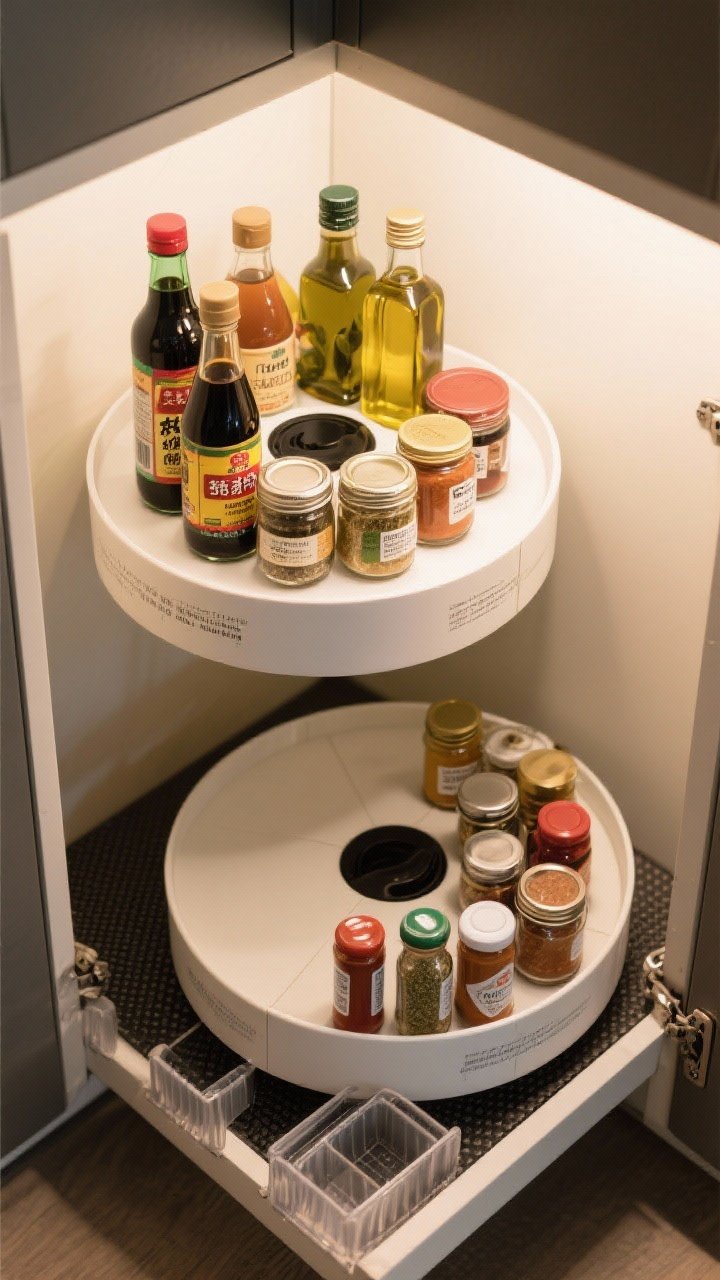
Meet the MVP of deep cabinets and awkward corners: the lazy Susan. These spinning trays keep sauces, oils, vinegars, and spreads right at your fingertips. No more digging behind the sesame oil like it’s in witness protection.
Ingredients:
- 2–3 turntables (10–16 inches; one with a non-slip base)
- Cabinet liners
- Glass or plastic bins (optional)
- Assorted bottles and jars
Instructions:
- Measure the shelf depth to pick the largest turntable that fits without rubbing.
- Place one near the stove for cooking oils; another in the fridge for sauces, pickles, and tahini.
- Load items by height with labels facing out, and group by cuisine or function.
- Spin to test access—if it collides, remove the tallest item or use a tiered turntable.
Pro tip: Use a smaller turntable in your baking cabinet for extracts, sprinkles, and baking powder. It keeps little bottles from playing hide-and-seek.
5. Airtight Glass Containers That Make Leftovers Feel Fancy
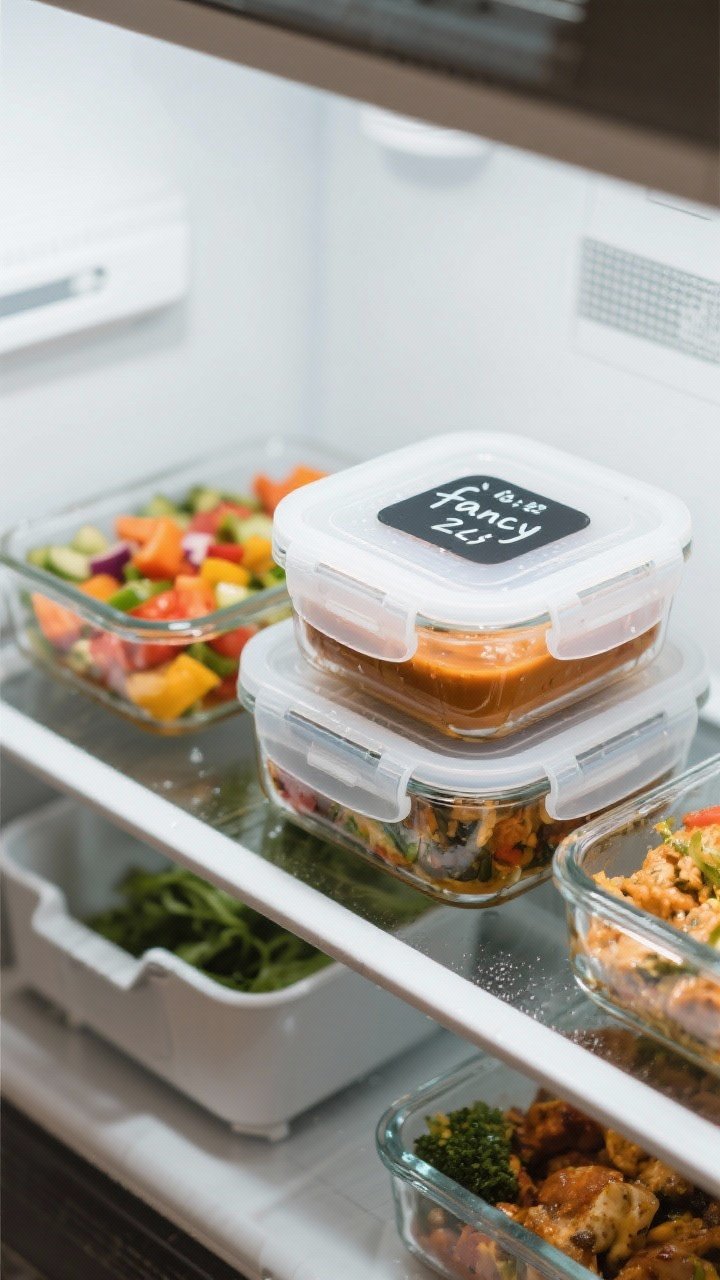
Clear, stackable containers are the difference between “mystery fridge stew” and a week’s worth of ready-to-eat meals. Airtight lids prevent leaks and keep food fresh longer, which means less waste and more easy dinners.
Ingredients:
- 8–12 glass containers in mixed sizes (with locking lids)
- Dry-erase marker or removable labels
- Fridge bin or shelf riser (optional)
- Cooked meals, chopped produce, sauces
Instructions:
- Assign sizes: small for sauces, medium for sides, large for mains.
- Stack by size to maximize vertical space; use a riser if shelves are tall.
- Label each container with contents and date.
- Create a “use first” zone for items that expire within 3–4 days.
Variation: Dedicate one container as a “scrap stock box” for onion skins, herb stems, and carrot peels. When full, simmer into broth. Waste less, cook more.
6. Tiered Shelf Risers That Reveal Your Spices
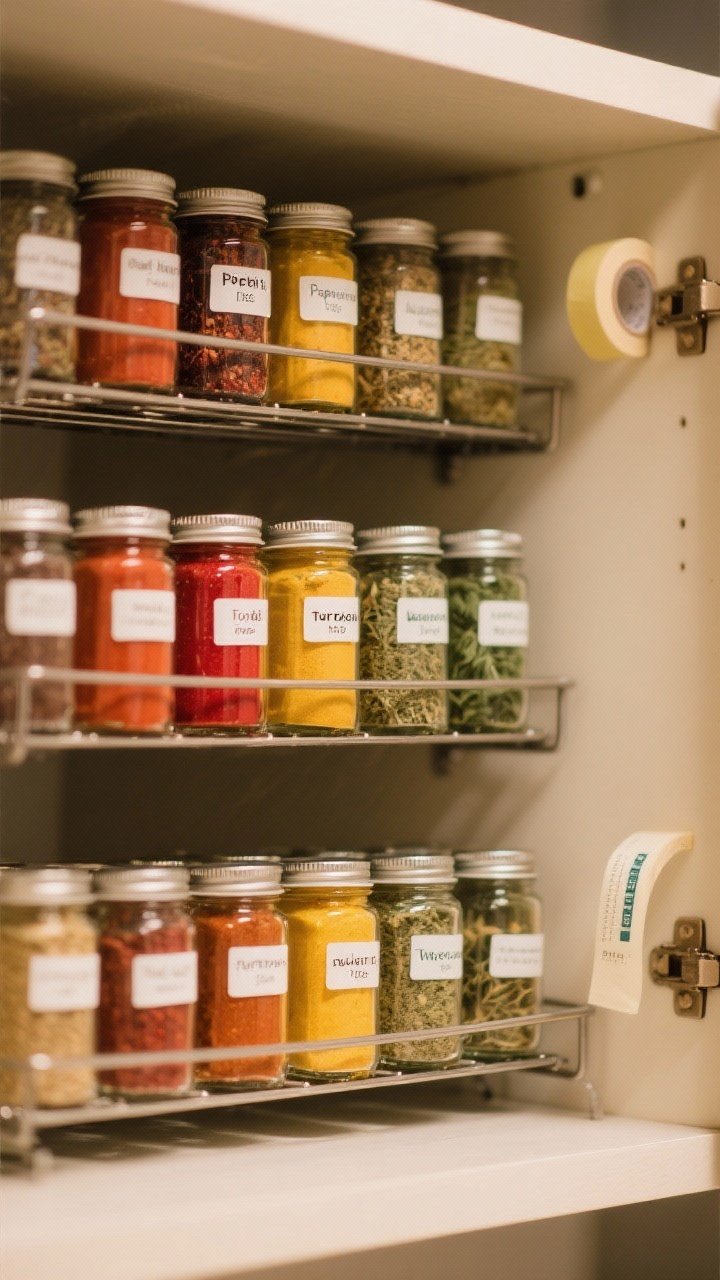
Spices shouldn’t require excavation. Tiered risers bring those back-row jars into daylight so you can see everything at once. Bonus: your cumin won’t go rogue for six months again.
Ingredients:
- 1–2 tiered shelf risers (expandable if possible)
- Uniform spice jars with labels (optional but satisfying)
- Sticky labels or label maker
- All your spices and blends
Instructions:
- Measure cabinet width and install risers to fit snugly.
- Consolidate duplicates and toss expired spices.
- Arrange alphabetically or by cuisine: baking, Mediterranean, Asian, Latin.
- Label jar tops for quick overhead identification.
Pro tip: Put everyday spices—salt, pepper, paprika, garlic powder—at the front edge. If you have multiples, stash backups in a separate bin so the main shelf stays lean.
7. Under-Shelf Baskets That Give You a Hidden Bonus Shelf
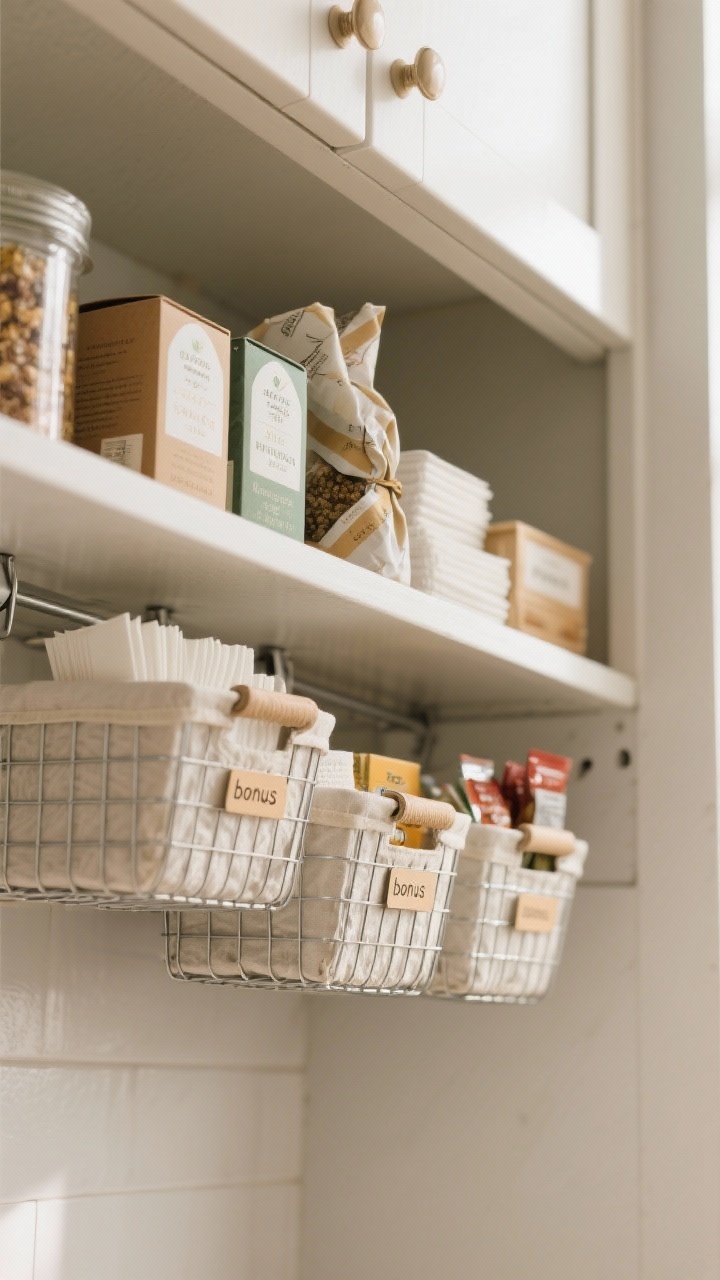
Got vertical space going to waste? Under-shelf baskets slide onto existing shelves to create instant storage for tea, tortillas, foil, or snacks. It’s like discovering a secret kitchen level.
Ingredients:
- 2–4 under-shelf baskets (check your shelf thickness)
- Non-slip shelf liners
- Lightweight pantry items (tea, wraps, napkins, spice packets)
- Small labels (optional)
Instructions:
- Attach baskets to shelves with enough clearance below for taller items.
- Use baskets for light, flat, or easily lost items.
- Line shelves to prevent sliding when pulling the baskets.
- Label fronts for quick scanning: “Tea,” “Wraps,” “Snacks.”
Serving suggestion: Dedicate one basket to “weeknight quick wins”—taco seasoning, microwave rice, curry paste—so dinner on busy nights is grab-and-go.
8. Pull-Out Trash and Recycling That Keeps Counters Clear
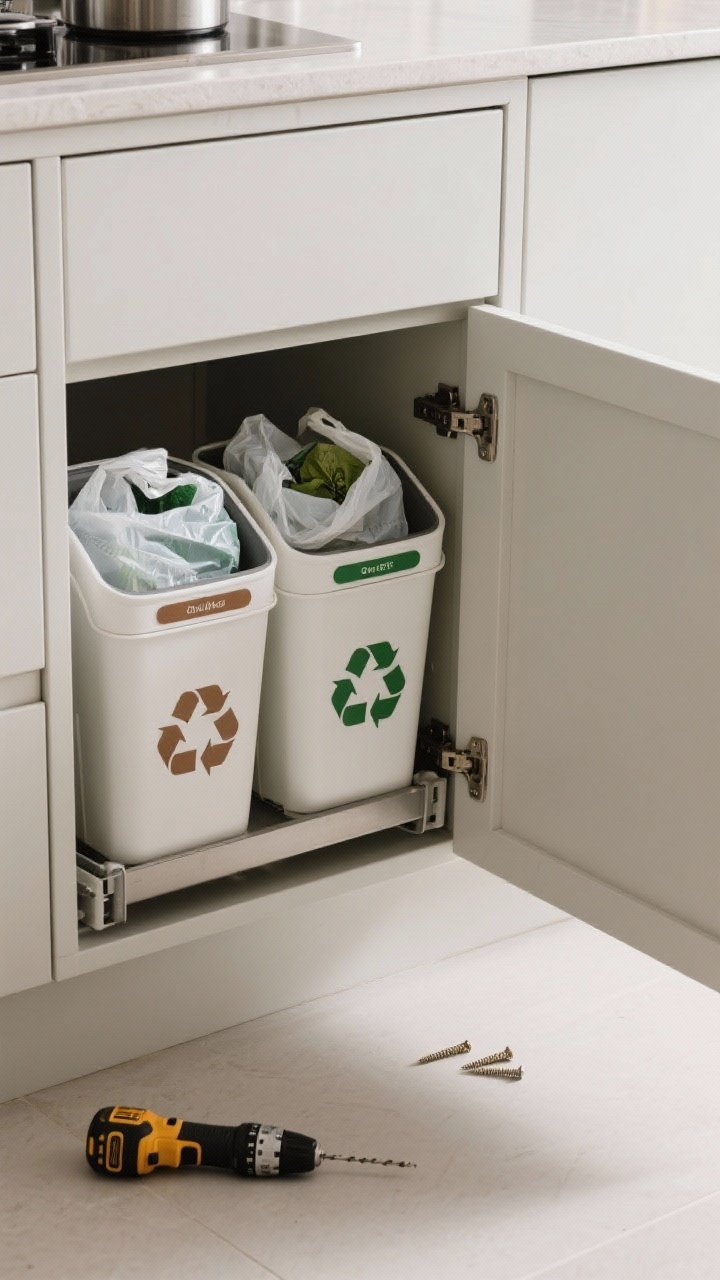
A pull-out trash/recycling system hides the bins, controls smells, and frees floor space. It’s also the fastest way to stop that constant “where does this go?” confusion during cleanup.
Ingredients:
- 1 pull-out system with dual bins (trash + recycling)
- Drill and screws (or cabinet installer if needed)
- Trash bags and compostable liners (if composting)
- Sticky labels or color-coded bins
Instructions:
- Measure your cabinet opening and choose a unit that fits.
- Install rails according to template; ensure the door opens fully without hitting hardware.
- Label bins clearly and line them appropriately.
- Place a small compost caddy on the counter or inside the door for food scraps.
Pro tip: Mount a roll of trash bags inside the cabinet with an adhesive hook. Re-bagging takes seconds, and your kitchen stays tidy mid-recipe.
9. Wall-Mounted Rail With Hooks That Frees Up Drawers
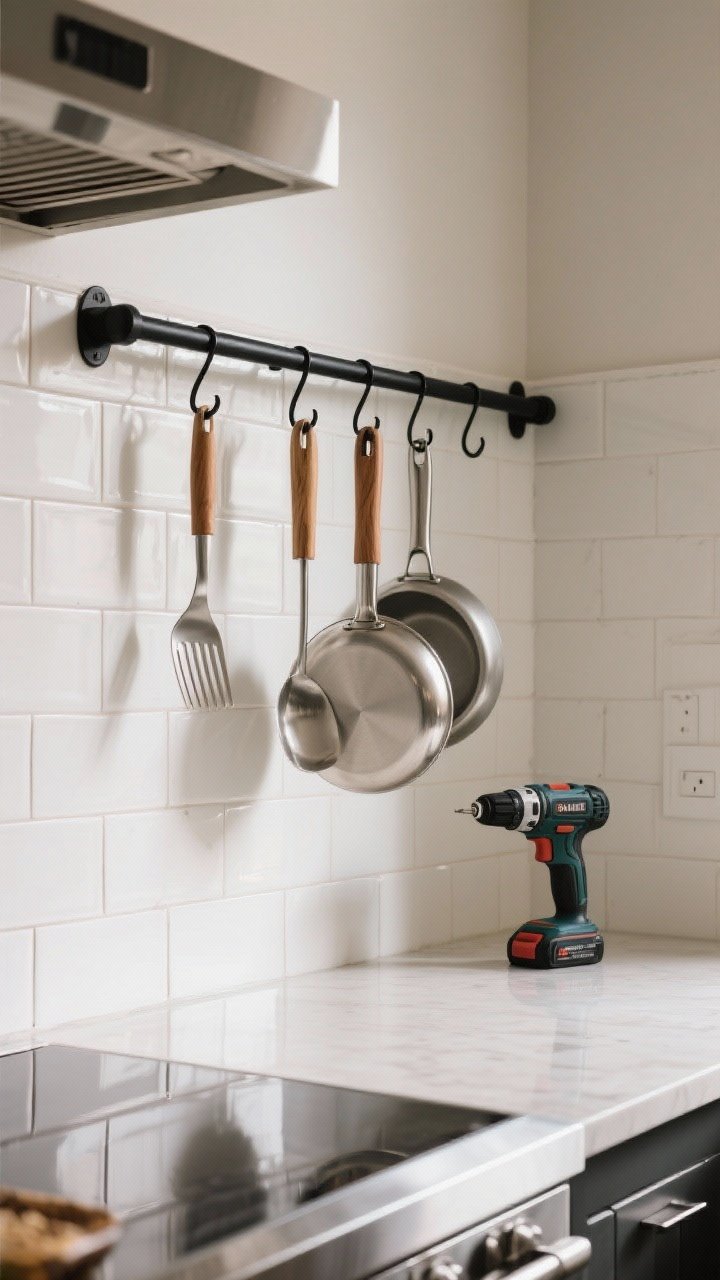
Pots, pans, and tools love a good rail. Hang a slim bar with S-hooks and suddenly your everyday spatulas, ladles, and measuring cups live right where you cook. It’s efficient, pretty, and surprisingly satisfying.
Ingredients:
- 1–2 wall-mounted rails (or a pegboard if you’re feeling bold)
- S-hooks or specialty utensil hooks
- Stud finder, level, drill
- Everyday utensils and lightweight pans
Instructions:
- Pick a spot near the stove with enough clearance for hanging tools.
- Mount the rail into studs or use heavy-duty anchors.
- Hang tools by category: stirring, flipping, tasting, measuring.
- Keep the hottest-zone tools (tongs, spatula) at the center for easy grabbing.
Variation: Add a small shelf above the rail for salt, pepper, and your daily oil. It turns your wall into a mini command center for cooking.
10. Label Maker Magic That Keeps Everything Organized Long-Term
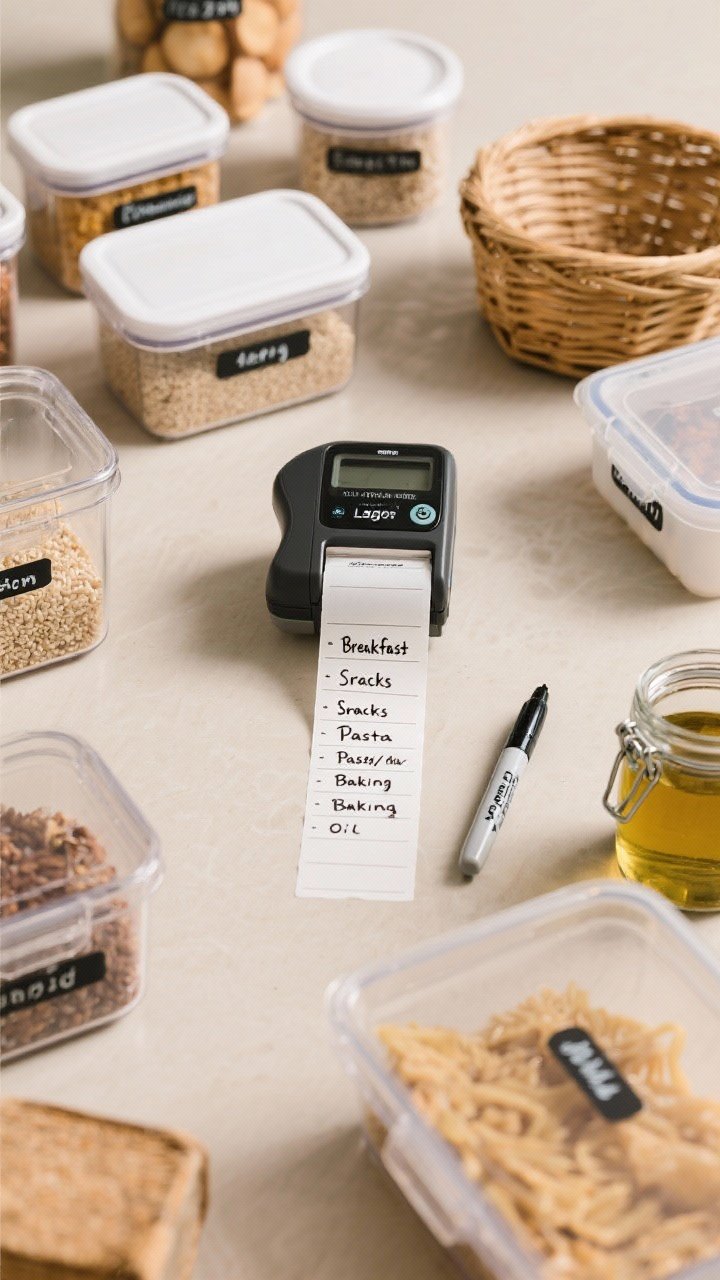
Want your system to actually stick? Labels turn “good intentions” into smooth routines. Whether you go minimal or bold, labeling bins, lids, shelves, and jars prevents chaos from creeping back in.
Ingredients:
- Label maker or removable label tape
- Clear bins, jars, baskets, and containers
- Fine-tip permanent marker (for freezer-safe labels)
- Category list: Breakfast, Snacks, Pasta/Grains, Baking, Oils/Vinegars, Spices
Instructions:
- Decide on a naming style: singular (“Snack”), plural (“Snacks”), or specific (“Tortillas”). Keep it consistent.
- Label shelves and bins where items live, not just the containers themselves.
- For fridge/freezer, include dates on cooked foods, sauces, and stocks.
- Do a 5-minute weekly reset to return items to labeled homes.
Pro tip: Use color-coded labels by zone: blue for fridge, white for pantry, green for produce. Your brain will thank you every time you reach for something.
Ready to cook without the chaos? Start with one or two of these upgrades and build from there. The goal isn’t perfection—it’s making dinner easier, faster, and actually fun. Clear the clutter, light the burner, and enjoy the kind of kitchen that wants to cook with you, not against you.
Printable Recipe Card
Want just the essential recipe details without scrolling through the article? Get our printable recipe card with just the ingredients and instructions.