10 Ways to Organize Your Pantry so Dinner Feels Easier (and Way More Fun)
Let’s be honest: dinner feels a million times easier when your pantry isn’t auditioning for a chaos documentary. These 10 “recipes” aren’t edible, but they’ll cook up something arguably better—calm, clarity, and faster weeknight meals. We’re mixing strategy with real-life tips so you can open those doors and actually feel excited to cook. Ready to turn your pantry into your secret sous-chef?
If you love how quick and crispy recipes, you’ll want to check out our full guide to 10 Easy Air Fryer Dinners for Busy Weeknights for more soulful, fast meals.
10 Ways to Organize Your Pantry so Dinner Feels Easier
1. Clear Bins, Clear Mind: The See-Through System That Stops Duplicates
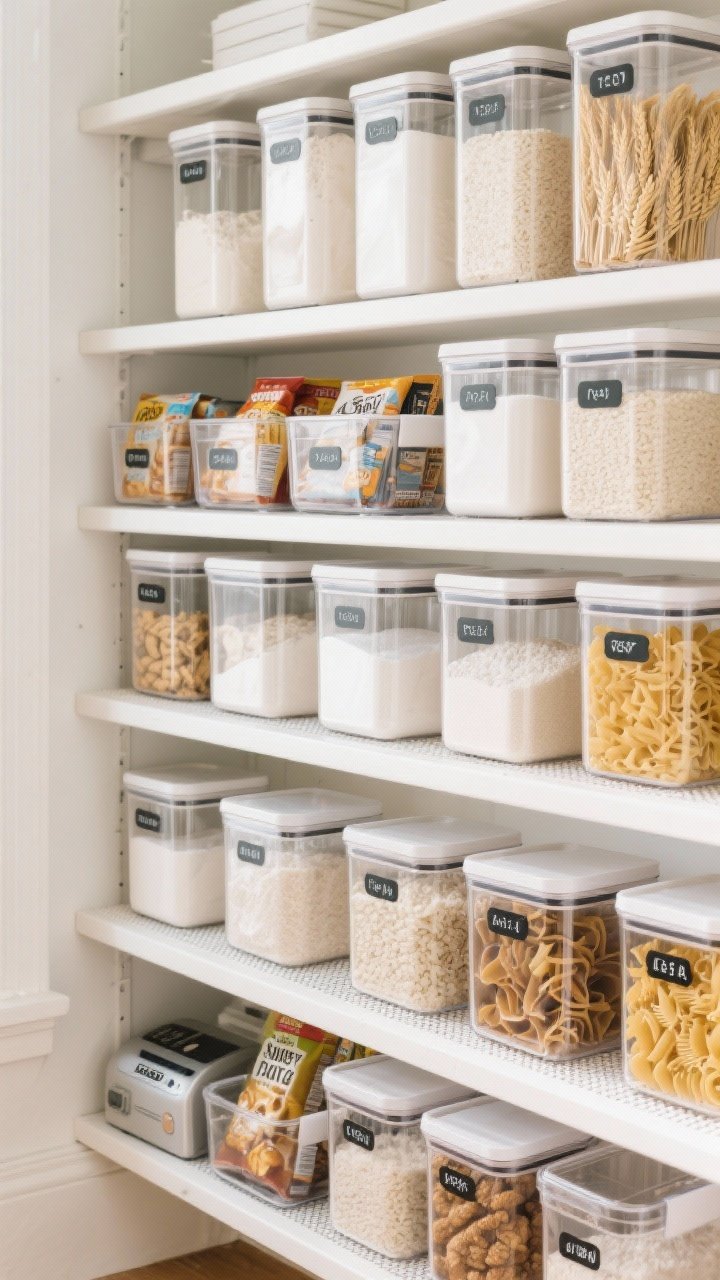
Transparent containers are like glasses for your pantry—they help you see what’s really going on. No more surprise towers of chickpeas or mystery bags. This is perfect for busy weeknights when you want to scan and grab without excavating.
Ingredients:
- 6–12 clear bins (shoebox size for snacks; larger for bulk)
- 8–15 airtight clear canisters (for flour, sugar, rice, pasta)
- Label maker or waterproof labels + marker
- Non-slip shelf liners (optional but helpful)
- Sticky notes (for temporary testing)
Instructions:
- Empty your pantry. Yes, all of it. Wipe shelves clean and lay down shelf liners.
- Group items by use: baking, breakfast, snacks, grains, pasta, beans, canned goods, international, sweet/savory sauces.
- Decant flours, sugars, rice, and pasta into airtight canisters. Leave cooking directions in: snip from the box and tape to the underside of the lid.
- Assign each category a clear bin. Try two configurations with sticky notes before committing to labels.
- Label containers on the front and top so you can see them whether they’re stacked or pulled.
Pro tip: Keep one bin empty as a “landing zone” for new groceries. It stops the pileup and gives you a staging area when you’re short on time.
2. Zones Like a Pro Kitchen: Make Every Shelf Do a Job
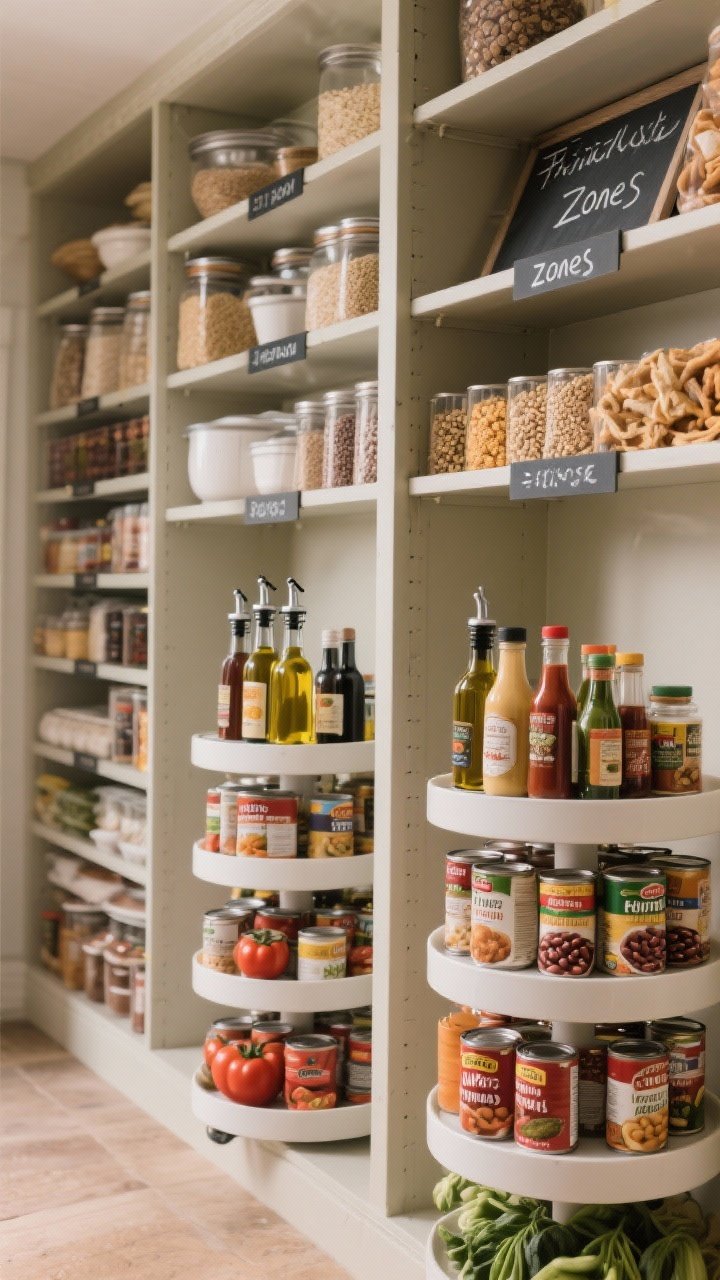
Restaurant kitchens run on zones; your pantry should too. When each shelf has a purpose, dinner stops feeling like a scavenger hunt. This tactic is perfect for families and roommates because everyone knows where things go.
Ingredients:
- Shelf dividers (4–8 depending on width)
- Lazy Susans (2–3 for oils, vinegars, condiments)
- Tiered can risers (2–4 for canned goods)
- Chalkboard or dry-erase labels for flexible zones
Instructions:
- Map your pantry into 5 zones: Everyday Staples, Quick Meals, Baking, Breakfast, Flavor Boosters.
- Put Everyday Staples at chest level: rice, pasta, canned tomatoes, beans. This reduces decision fatigue.
- Use Lazy Susans for oils, vinegars, sauces. One spin and you see everything—no sticky bottle graveyard.
- Install tiered risers for canned goods so nothing hides in the back.
- Label each zone clearly. Keep 75% of items within your natural reach; the rest can live higher or lower.
Variation: Create a “15-Minute Dinner Zone” with shelf-stable heroes: gnocchi, jarred sauce, tuna, couscous, boxed broth, naan. You’ll thank yourself on a Tuesday.
📥 Save Time This Week!
Get our FREE 7-Day Dinner Plan + Grocery List — all the recipes, shopping lists, and meal prep tips you need to breeze through the week.
Instant download. No spam, just delicious dinners. Unsubscribe anytime.
3. The Decanting Playbook: Goodbye Crinkly Bags, Hello Sanity
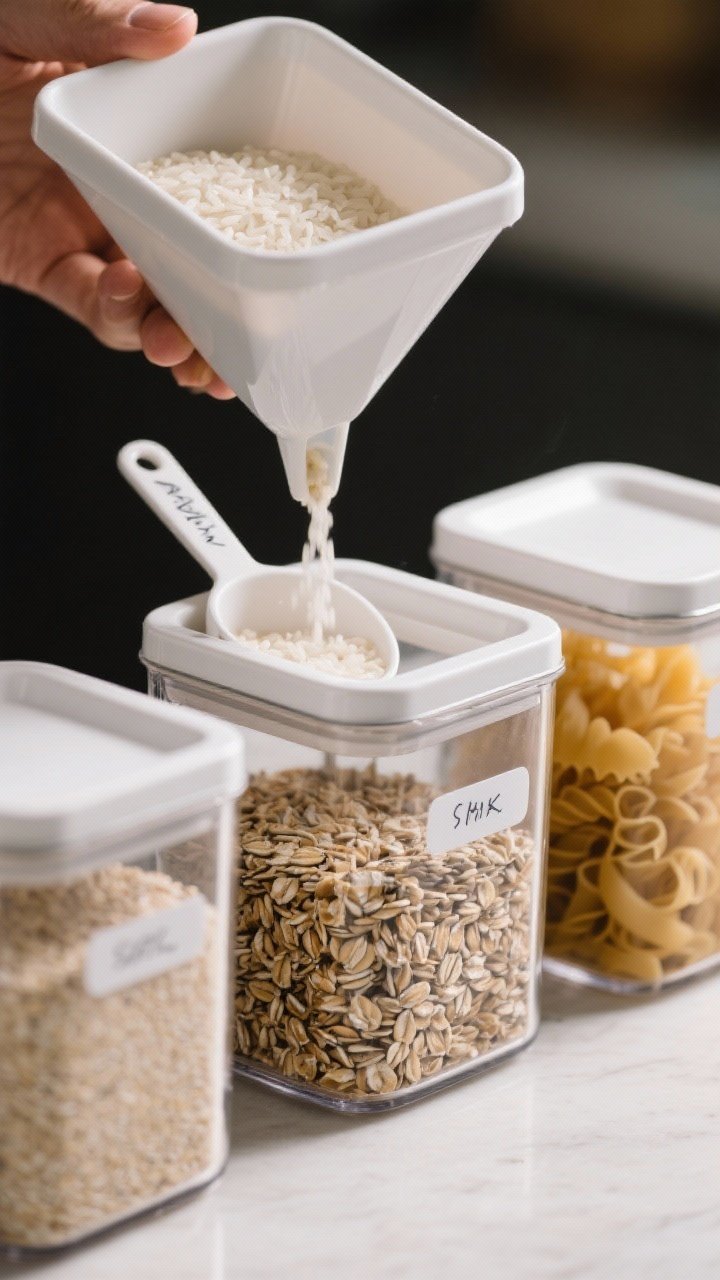
Decanting isn’t just for Instagram—it prevents pests, keeps food fresher, and lets you see exactly how much you have. Plus, you’ll stop living in fear of flour avalanches. Perfect for frequent bakers and meal preppers.
Ingredients:
- Food-safe airtight canisters in 3–4 sizes
- Square or rectangular containers (maximize space)
- Measuring scoop or cup dedicated per container
- Fine-tip marker + removable labels
- Funnel (optional for small grains and spices)
Instructions:
- Choose uniform container shapes. Squares stack better than round.
- Decant dry goods: flours, sugars, oats, rice, pasta, lentils, breadcrumbs, nuts, and seeds.
- Cut cooking instructions from packaging and tuck under the lid or tape under the container.
- Label with item, date opened, and (if relevant) cup-to-gram conversions.
- Assign a scoop per container to avoid cross-contamination and mess.
Pro tip: Keep one “overflow bin” for backup bags when your canisters are full. That way you don’t end up with mystery partials hiding behind everything.
4. Snack Station Strategy: Tame the Snacknado
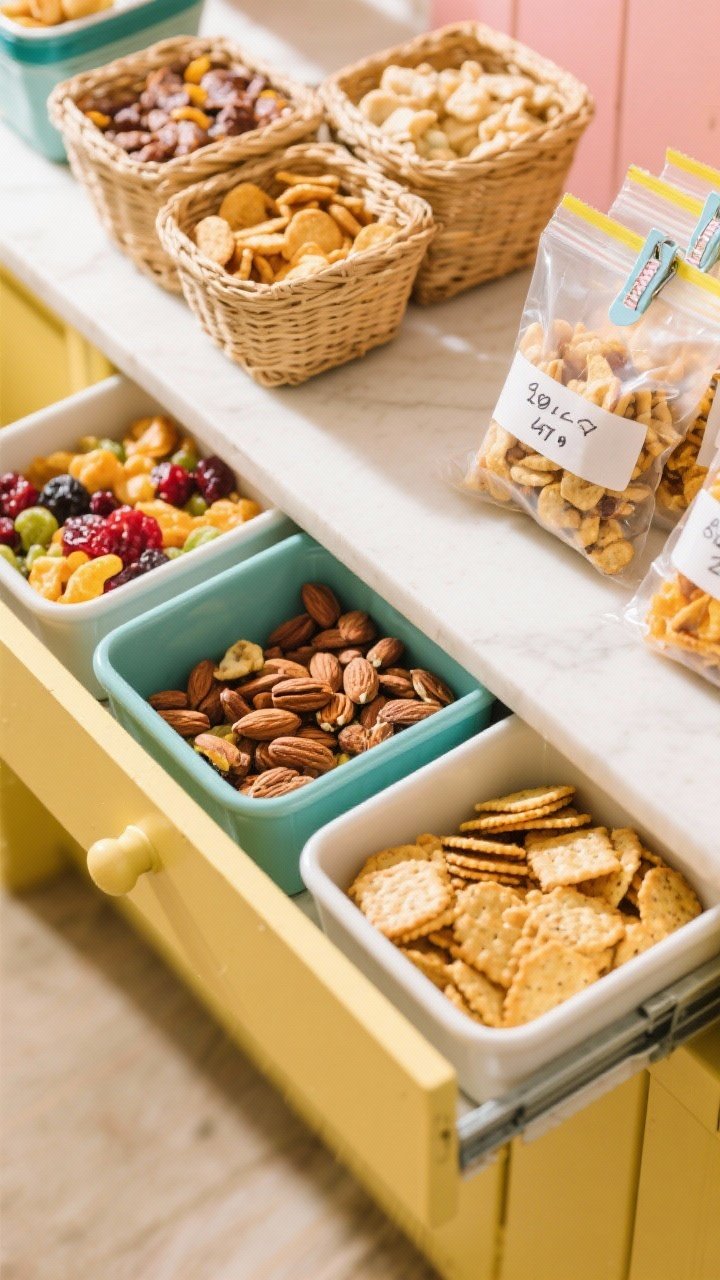
Snacks have a way of multiplying and disappearing all at once. A snack station puts everyone on autopilot—no more empty boxes back on the shelf. This is a lifesaver for kids, guests, and honestly, 3 p.m. you.
Ingredients:
- 2–3 medium bins or pull-out drawers
- Small baskets or deli-style containers for portioning
- Chip clips and zip bags
- Masking tape + marker for dates
Instructions:
- Designate one low shelf as the snack zone. Keep it reachable and obvious.
- Separate into sweet, savory, and “grab-and-go” (granola bars, fruit leather, nuts).
- Unbox individually wrapped snacks and store upright like files for easy scanning.
- Use small containers for loose snacks (pretzels, crackers, dried fruit) and label with opened dates.
- Put a “first to eat” tag on opened items so they get finished before new ones are opened.
Variation: Make a “Movie Night” mini bin with popcorn, chocolate, seasoning salts, and candy. Instant cozy plan, zero hunting.
5. Breakfast Bar Setup: Mornings That Practically Make Themselves
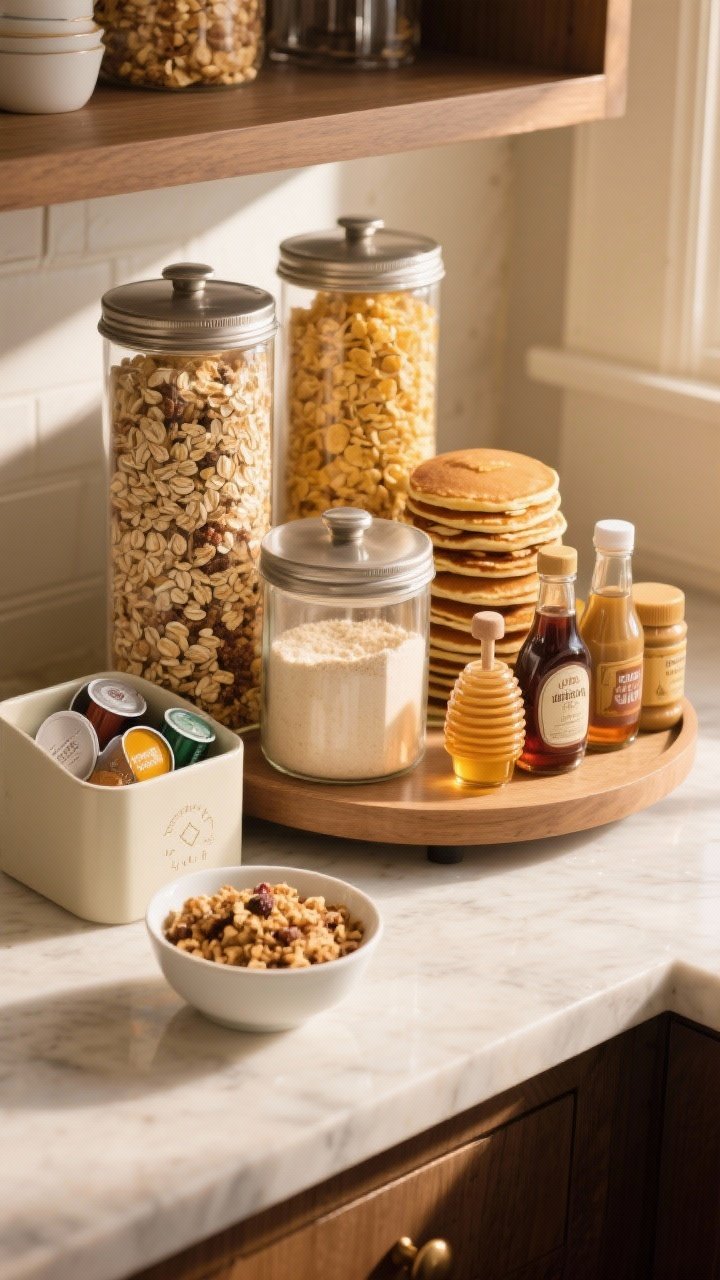
Getting breakfast on autopilot is a gift to your future self. With a dedicated breakfast bar, you’ll find cereal, oats, granola, tea, and coffee in one easy spot. It speeds up mornings and makes weekend brunch feel breezy.
Ingredients:
- Two tall canisters for oats and cereal
- Medium canisters for granola and pancake mix
- Tea caddy or small bin for tea and coffee pods
- Honey, maple syrup, nut butters (stored on a lazy Susan)
- Mini spice jars for cinnamon, chia, flax
Instructions:
- Claim one shelf as the breakfast zone, ideally near bowls and mugs if your kitchen layout allows.
- Decant dry items and label clearly. Keep pour spouts facing forward.
- Use a lazy Susan for sticky items like honey and syrup so cleanup is easy.
- Corral tea, coffee, and sweeteners in one bin. Add a scoop for oats to save time.
- Place chia/flax/cinnamon in small jars up front—healthy add-ins become effortless when they’re visible.
Pro tip: Keep a “Weekend” bin with pancake mix, chocolate chips, pecans, and a tiny bottle of vanilla. Spontaneous brunch, activated.
6. Flavor Command Center: Oils, Vinegars, and Sauces at Arm’s Reach
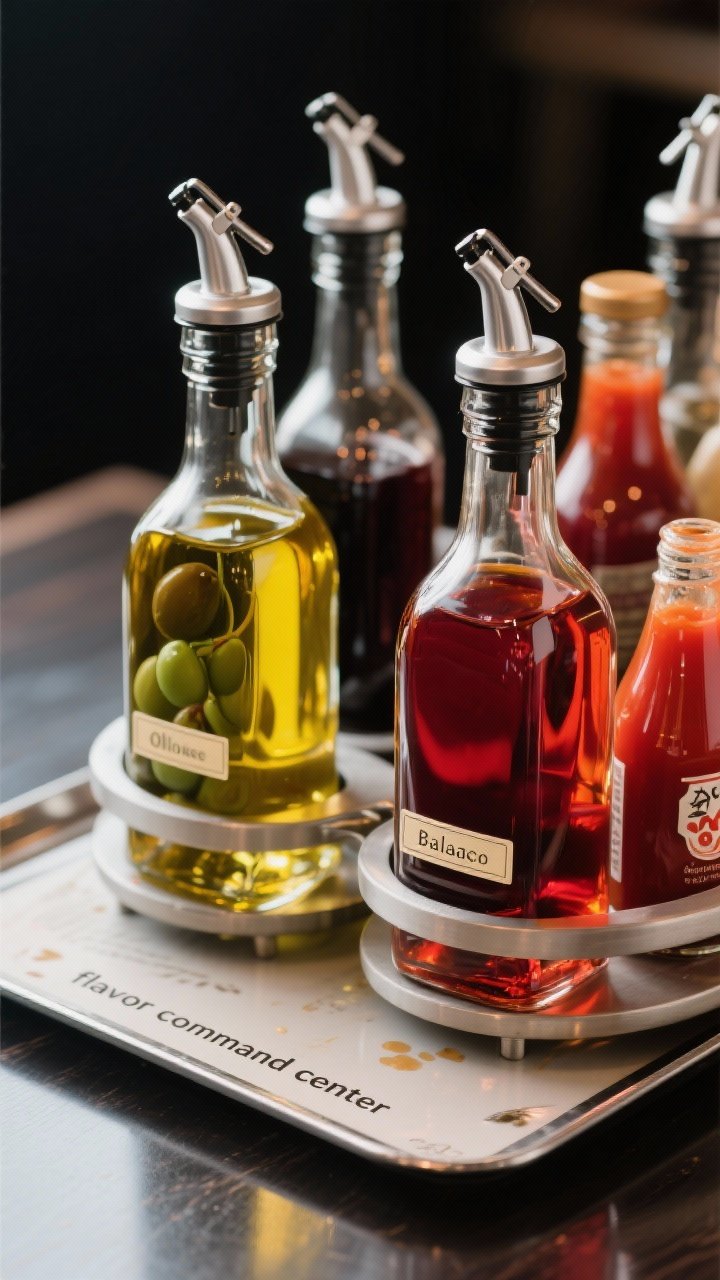
Flavor is everything, and when your oils and acids are easy to grab, dinner gets smarter fast. Grouping these together turns you into a swift seasoning machine. It’s also easier to see what you’re low on before grocery runs.
Ingredients:
- 2 lazy Susans (one for oils, one for acids/condiments)
- Small tray or mat to catch drips
- Spout pourers for frequently used oils
- Mini labels for bottle necks
Instructions:
- Place a lazy Susan at eye level for olive oil, avocado oil, neutral oil, and sesame oil.
- Use a second lazy Susan for vinegars (balsamic, red wine, rice, apple cider) and sauces (soy, fish sauce, hot sauce, Worcestershire).
- Label bottle necks so you can identify at a glance—even when partially hidden.
- Set a small tray beneath to collect drips; it’s easier to wipe one surface than the whole shelf.
- Keep backup bottles in a separate bin to prevent accidental double-buying.
Variation: Add a tiny “finishing” caddy with flaky salt, pepper grinder, chili crisp, and toasted sesame seeds. Instant glow-up for simple dishes.
7. Can-Do Canned Goods: Stack, Rotate, Never Waste
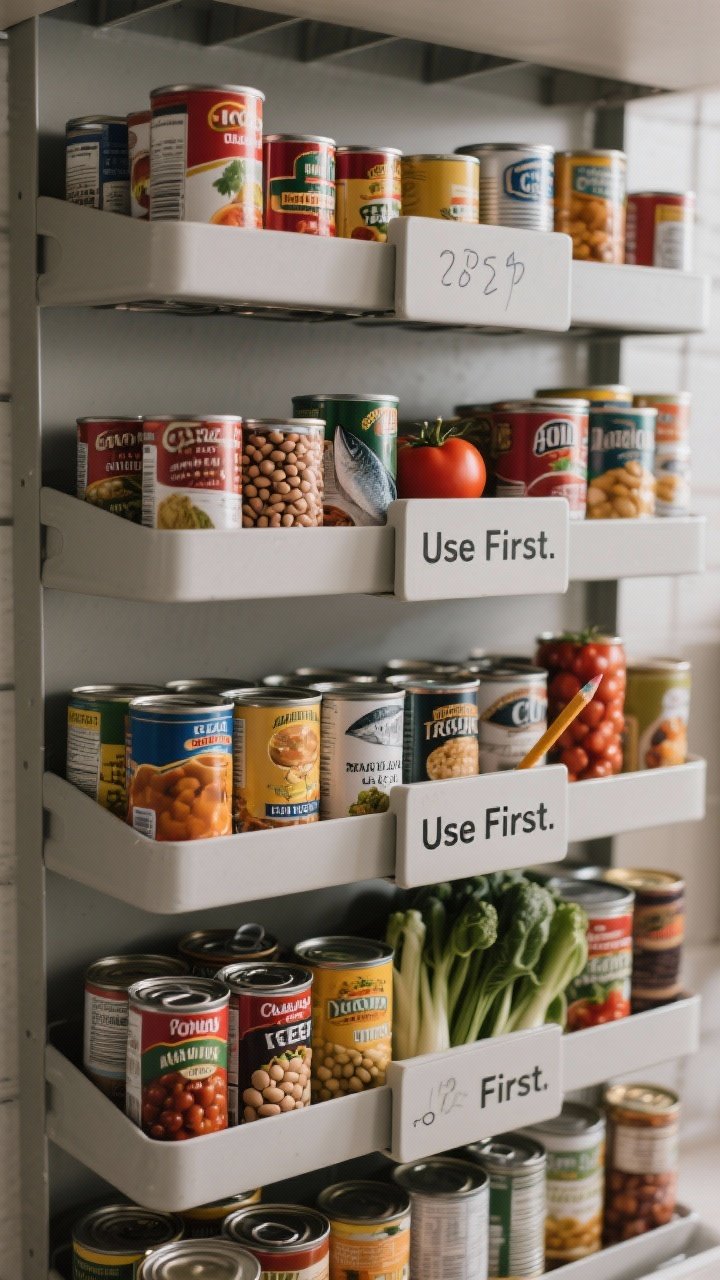
Cans are the weeknight MVPs, but they love to hide in the back. This method makes everything visible and keeps older items moving out first. Perfect for soups, quick stews, and those “didn’t plan dinner” nights.
Ingredients:
- Tiered can risers or gravity-fed can organizer
- Wax pencil or grease pencil for dating
- One small bin labeled “Use First”
- Category dividers (beans, tomatoes, fish, soups, vegetables)
Instructions:
- Sort cans by type and place on tiered risers so labels face forward.
- Date the tops with a wax pencil for quick FIFO (first in, first out) rotation.
- Start a “Use First” bin with soon-to-expire items or partial meal kits (e.g., coconut milk + curry paste).
- Keep at least one “meal triangle” together: tomatoes + beans + pasta; tuna + beans + couscous; coconut milk + tomatoes + lentils.
- Do a 60-second inventory before grocery runs: snap a quick photo of the can zone for reference.
Pro tip: Keep an emergency chili kit: crushed tomatoes, black beans, kidney beans, chipotles, corn, and spices. You’re 20 minutes from dinner, max.
8. Spice Smart: Alphabetize or Organize by Cuisine—But Make It Uniform
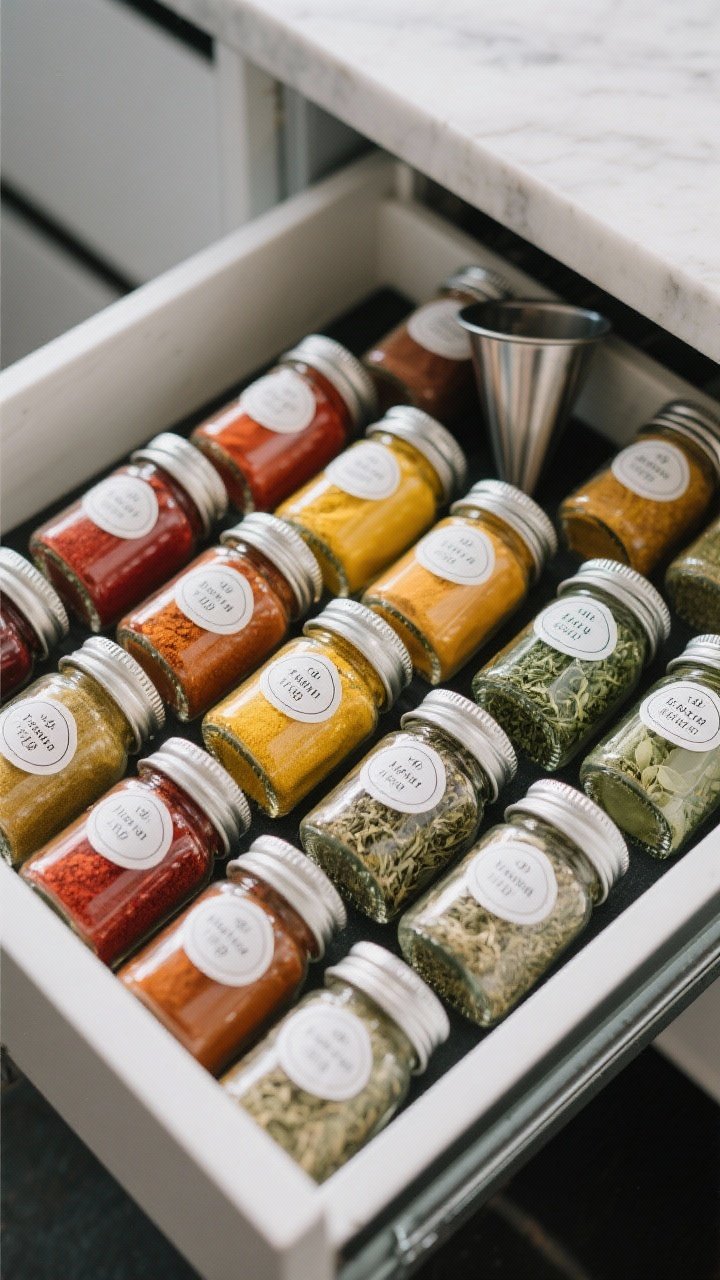
Spices can make or break your meal—and your patience. A uniform system means no duplicates and faster flavor decisions. Choose what suits your brain: alphabetical or cuisine clusters.
Ingredients:
- Identical spice jars (20–40, depending on your stash)
- Rack, drawer insert, or magnetic board
- Pre-printed or custom labels (top and side labels)
- Small funnel
- Mini notepad or app list for refills
Instructions:
- Pick a system: A–Z for quick searching, or by cuisine (Italian, Mexican, Indian, Middle Eastern, Baking).
- Decant into matching jars. Top labels are crucial if spices live in a drawer.
- Purge dusty, faded spices and anything older than 2 years (whole spices last longer than ground).
- Keep everyday spices near the stove; stash infrequent or specialty blends in the second row.
- Create a refill section on your grocery app and add an alert to check every 3 months.
Variation: Build a “Fast Marinade” mini kit: garlic powder, onion powder, smoked paprika, cumin, oregano, chili flakes. Add oil and acid and you’re done—seriously.
9. Meal Kits in a Basket: Corral Ingredients for Faster Weeknights

Think of this like a Blue Apron you build yourself. You gather pantry items for specific meals in one basket, so when it’s go-time, you grab the basket and cook. It saves brainpower and speed-runs dinner.
Ingredients:
- 3–5 medium baskets or handled bins
- Zip bags or envelopes for spice packets and small items
- Index cards or sticky notes for recipes
- Clip or elastic to attach notes to basket
Instructions:
- Choose 3 dinners for the week. Write each on an index card with a short ingredient list.
- Fill one basket per recipe with pantry items: pasta, canned tomatoes, coconut milk, curry paste, tortillas, beans, etc.
- Attach the card and note any fresh add-ins you’ll need (e.g., “Add: chicken + spinach”).
- Store baskets on a dedicated “This Week” shelf. Rotate new meals in each week.
- After cooking, return unused pantry items to their zones and reset the basket.
Pro tip: Keep a “Base Kit” ready for your household’s go-to meal (like tacos or pasta). You’ll always have Plan A.
10. Inventory + Refill Ritual: Five Minutes That Save Your Sanity

This is the secret sauce. A tiny weekly check-in keeps your pantry running like a well-oiled machine and stops the last-minute grocery panic. Think of it as a mini reset that pays off all week.
Ingredients:
- Whiteboard or notepad for pantry door
- Phone camera for quick shelf snaps
- Running grocery list app (shared if possible)
- Sticky flags for “running low” markers
Instructions:
- Set a 5-minute timer every Sunday. Scan zones, snap photos, and flag anything low.
- Add refills to your shared list immediately—no memory games later.
- Move near-expiry items to the “Use First” bin and plan one meal around them.
- Reset your “This Week” meal baskets with pantry components ready to go.
- Do a 30-second tidy: realign labels, toss empties, wipe any sticky rings.
Variation: If you love data, keep a quick-stock note with par levels (e.g., “Olive oil: 1 open + 1 backup”). Reorder when you hit the par.
Bonus Tips For Small or Awkward Pantries
– Use door racks for wraps, foils, snacks, and spices.
– Add under-shelf baskets to double vertical space for tortillas and paper goods.
– Choose stackable bins with front openings for deep shelves so you never have to unstack to reach the bottom.
Quick Wins That Make Dinner Easier Tonight
– Build a “Pasta Night” zone: dried pasta, jarred sauces, canned tomatoes, olives, capers, chili flakes.
– Keep a “Soup Starter” kit: broth, canned beans, tomatoes, barley or farro, dried herbs.
– Prep a “Grain Bar”: rice, quinoa, couscous, microwaveable packets for true last-minute sides.
That’s the pantry glow-up—10 simple systems that make dinner faster, smarter, and honestly way more fun. Start with one or two “recipes” today and layer in the rest over time. Your future self (and your weeknight dinners) will be very, very grateful.
Printable Recipe Card
Want just the essential recipe details without scrolling through the article? Get our printable recipe card with just the ingredients and instructions.